 Pin This
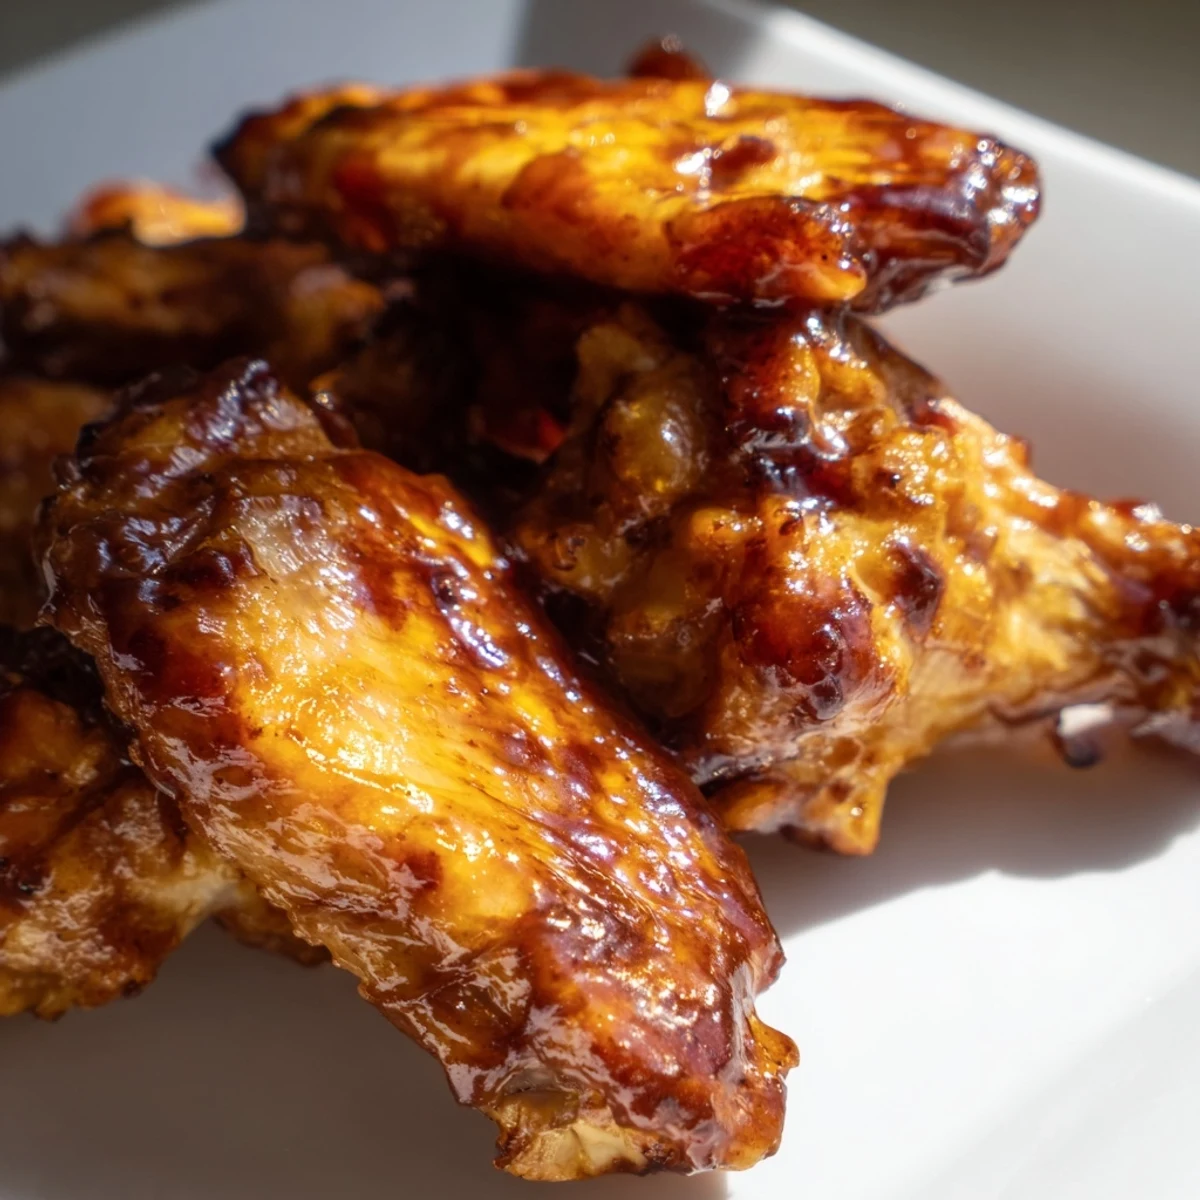
 Create championship-worthy chicken wings with a homemade BBQ glaze that's smoky, sweet, and tangy. Pat wings dry and season with olive oil, salt, pepper, garlic powder, and smoked paprika before baking at 220°C for 35-40 minutes until golden. Meanwhile, warm your BBQ sauce with honey and apple cider vinegar for enhanced flavor. Toss the crispy wings in the sauce and broil briefly until caramelized for an irresistible sticky coating. Serve with celery sticks and cooling dressing for the perfect appetizer or main dish.
The sound of sizzling wings always signals the start of something good in my house. I stumbled upon this championship recipe during a particularly tense playoff game when I needed something that would distract my friends from our team's disastrous performance. The sticky fingers and satisfied smiles around my living room that day proved these wings had saved the gathering, even if our team couldn't save themselves.
Last Super Bowl Sunday, my brother-in-law watched me tossing these wings in sauce and skeptically asked if they would actually be crispy enough. His eyebrows shot up at first bite, and by halftime, he was photographing the empty platter to show his buddies what they missed. That silent nod of approval from someone who considers himself a wing connoisseur felt better than any verbal compliment.
Ingredients
- 1.5 kg chicken wings: I always ask the butcher to separate the wings at the joints and remove the tips, saving precious preparation time and ensuring even cooking.
- Smoked paprika: This unassuming spice creates that authentic smoky flavor that makes people wonder if you secretly grilled them.
- Apple cider vinegar: The little splash that balances the sweetness of the BBQ sauce and honey, creating that tangy complexity that keeps people coming back for just one more.
- Hot sauce: Start with just a dash if serving to mixed company - you can always set out the bottle for heat-seekers to add more to their individual portions.
Instructions
- Prep your wings:
- Pat those wings completely dry with paper towels - this seemingly small step is actually crucial for achieving maximum crispiness. When you toss them with the oil and seasonings, use your hands to massage everything in, making sure each wing gets equal attention.
- Set up for success:
- The wire rack on the baking sheet is your secret weapon, allowing hot air to circulate around the entire wing. If you skip this and place them directly on the pan, you'll lose that all-around crispiness we're aiming for.
- Bake with patience:
- Resist the temptation to crank up the heat for faster cooking - steady 220°C (425°F) is the sweet spot for rendering fat while crisping skin. When you flip them halfway, you should already see golden patches forming.
- Create your sauce:
- Warm the sauce ingredients together just until they meld - you'll notice the texture becoming slightly thicker and glossier. Take a small taste and adjust the sweet-tangy-spicy balance to your preference.
- The perfect coating:
- Use a large bowl with plenty of room to toss vigorously without sauce splashing everywhere. Those few seconds of enthusiastic tossing ensure each wing gets properly coated in that sticky goodness.
- Final caramelization:
- Watch the broiler like a hawk - the difference between caramelized and burnt happens in seconds. You're looking for bubbling sauce and darkened edges but not blackened spots.
 Pin This
 During my sister's surprise birthday gathering, everyone kept gravitating toward the kitchen where these wings were being served rather than the decorated living room. We ended up abandoning the carefully planned activities, instead swapping stories around the kitchen island with sticky fingers and BBQ-smudged napkins, proving once again that good food creates its own atmosphere.
Make-Ahead Options
I've discovered you can bake the wings a day ahead, refrigerate them, and then reheat at 350°F for 10-15 minutes before tossing in freshly warmed sauce. The texture isn't quite as perfect as fresh-made, but it's a lifesaver when entertaining a crowd and trying to manage multiple dishes. This approach has saved my sanity during gatherings when timing multiple dishes would otherwise be impossible.
Serving Suggestions
After years of wing experimentation, I've found the perfect serving vessel isn't fancy platters but simple parchment-lined baskets that contain the inevitable mess. Something magical happens when you place these wings alongside cooling elements like crisp celery sticks and creamy blue cheese dressing - the contrast in temperatures and textures elevates the entire experience from simple finger food to something worthy of your best gatherings.
Storage and Leftovers
On the rare occasions when there are leftovers, I've learned they maintain their flavor profile remarkably well but need special handling to avoid becoming soggy disappointments. Reheating in a 375°F oven for about 10 minutes revives much of their original texture, making them nearly as good as fresh-made.
- Store any leftovers in an airtight container in the refrigerator for up to 3 days, keeping sauce-coated wings separate from any extras you may have reserved uncoated.
- Avoid microwaving at all costs unless you enjoy rubbery, sad versions of your once-crispy masterpieces.
- Leftover wings make surprisingly good salad toppers when chopped - the sauce becomes a flavor-packed dressing component.
 Pin This
 These championship wings have earned their trophy status in my recipe collection, appearing at gatherings where memories are made and connections strengthened. Food that brings people together around a table - or in this case, huddled around a platter with napkins at the ready - is always the most valuable kind.
Recipe FAQs
- → How can I make the wings extra crispy?
-
Pat the wings completely dry with paper towels before seasoning, and use a wire rack on your baking sheet to allow air circulation. Turning them halfway through baking ensures even crispness on all sides. The final broil step also adds extra crispiness to the sauce coating.
- → Can I prepare this ahead of time?
-
You can bake the wings up to 2 hours ahead and store them in the refrigerator. Reheat in a 180°C oven for 10 minutes before tossing in the warm sauce. The BBQ sauce can be made a day in advance and reheated before serving.
- → What's the best way to adjust the heat level?
-
Start with the optional hot sauce amount and gradually increase it to your preference. You can also add cayenne pepper, jalapeño, or sriracha to the BBQ sauce mixture for additional spice without overpowering the smoky sweetness.
- → Are there alternatives to baking?
-
Yes, you can grill the seasoned wings over medium-high heat for 20-25 minutes, turning occasionally for a smoky char. Deep frying is another option that yields incredibly crispy results, though baking is a lighter alternative.
- → How do I ensure the sauce caramelizes properly?
-
Use high heat under the broiler for just 2-3 minutes, watching carefully to avoid burning. The sauce should bubble and darken slightly. If your wings cool down before broiling, return them to the oven at 200°C for a few minutes first.
- → What makes this gluten-free friendly?
-
Use a certified gluten-free BBQ sauce as your base. Most commercial gluten-free options are readily available, or make your own using gluten-free Worcestershire sauce and other naturally gluten-free ingredients for complete control.