 Pin This
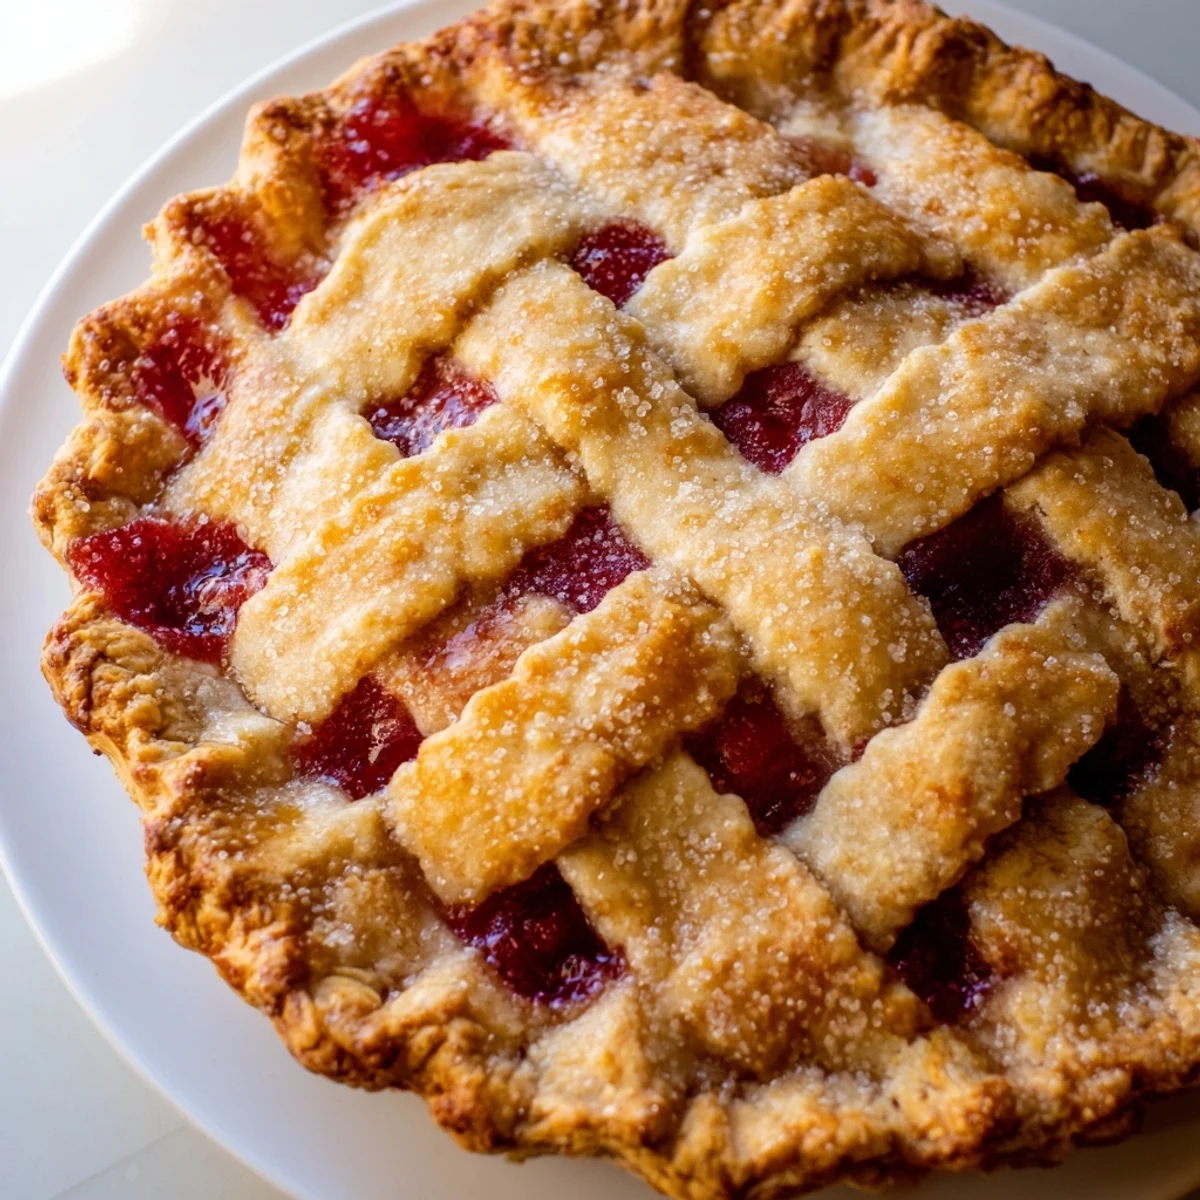
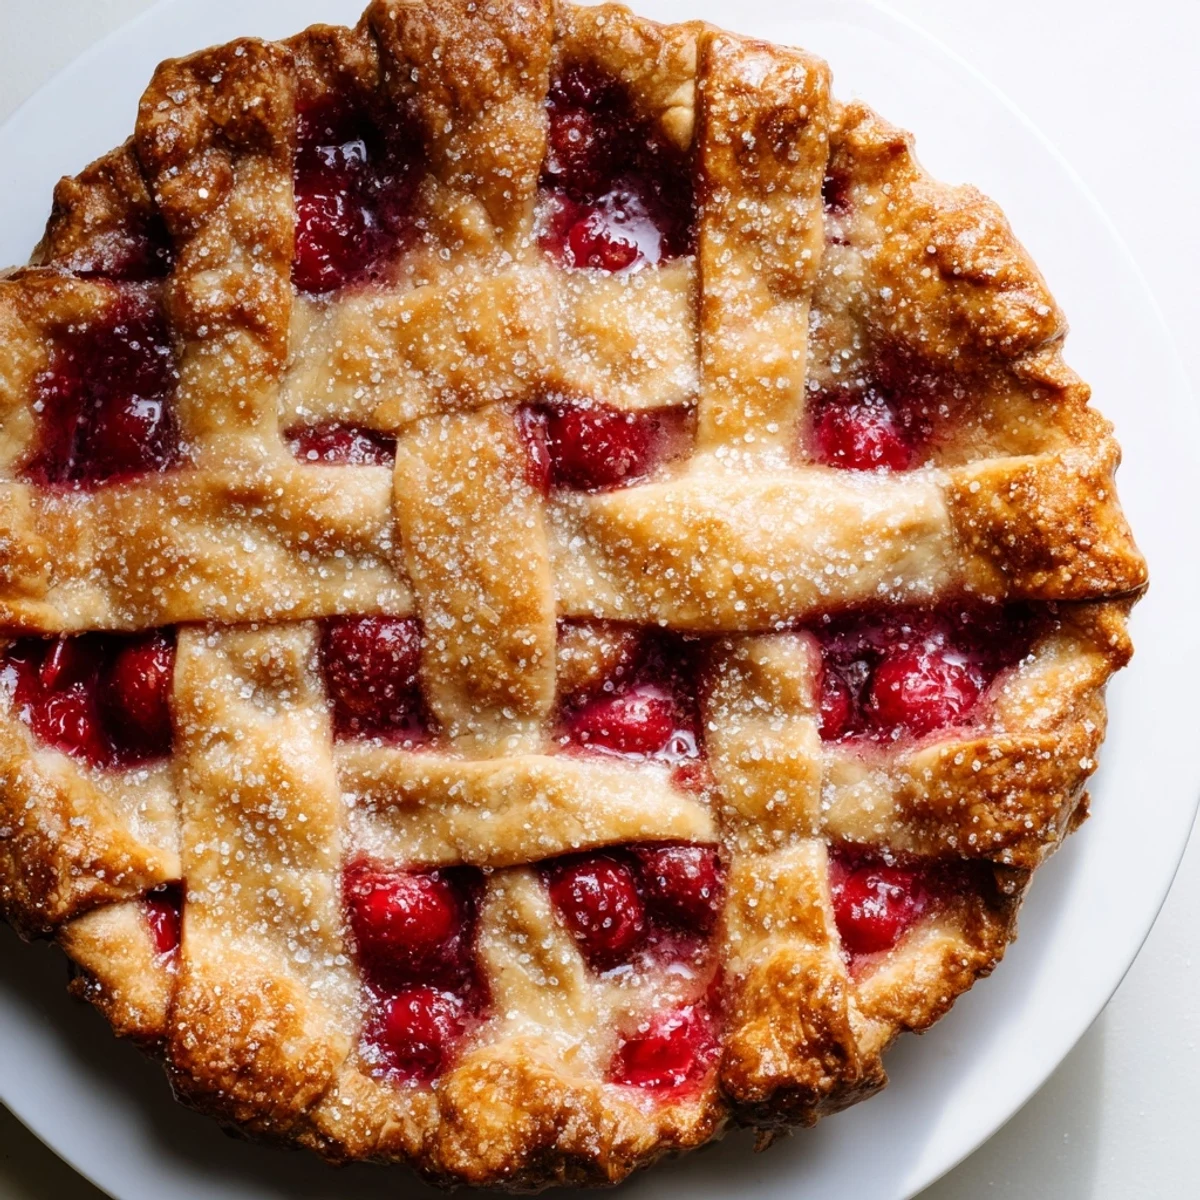
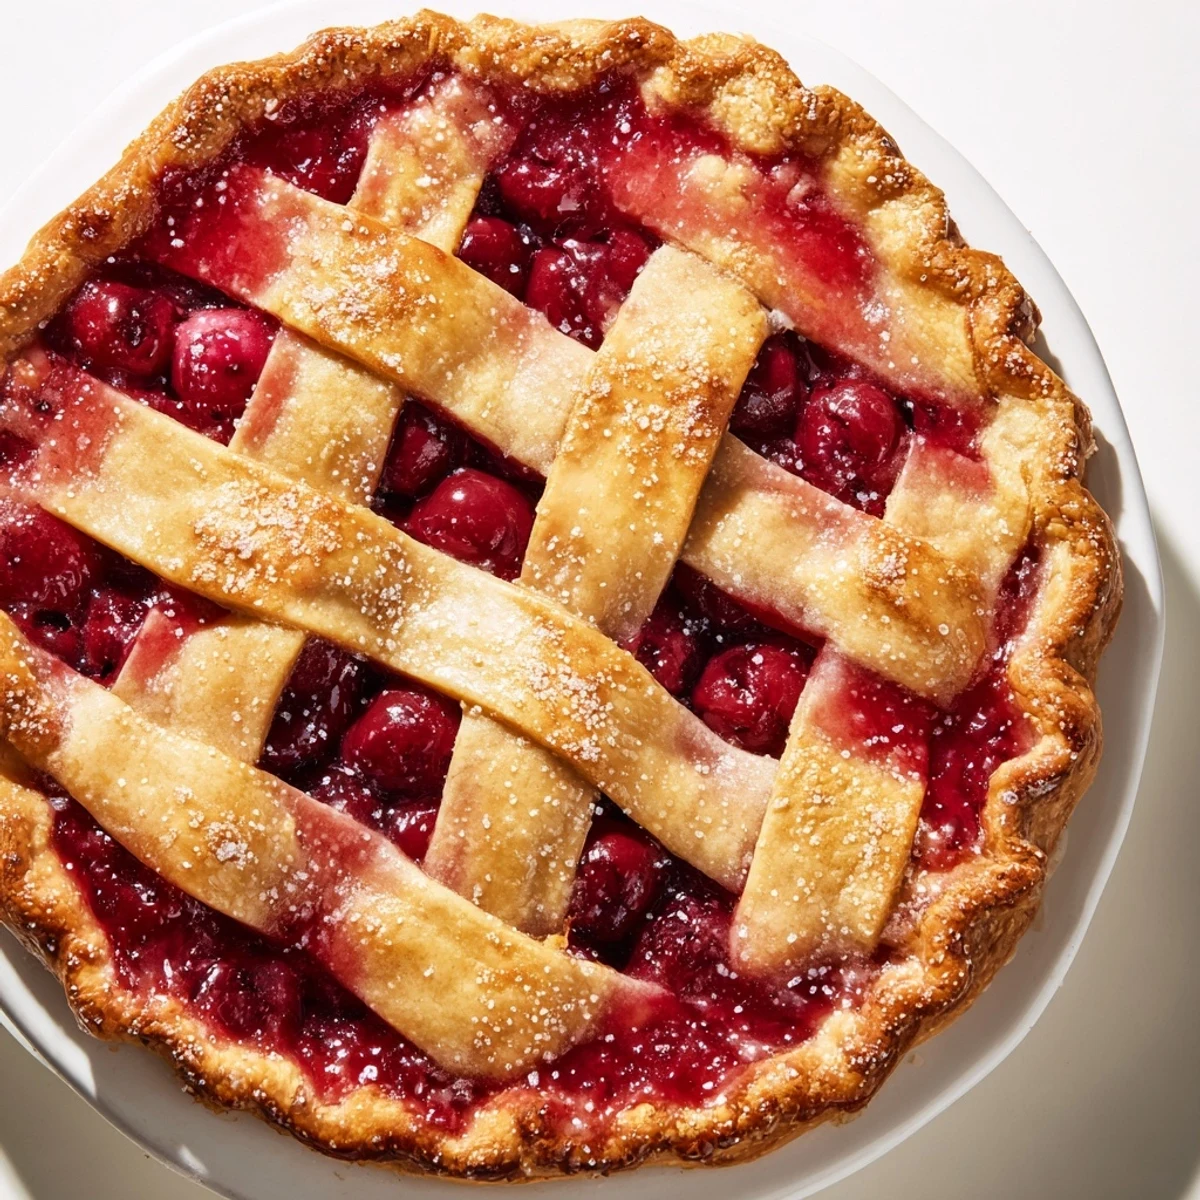
 This cherry delight combines a flaky, golden lattice crust with a vibrant sweet-tart filling. The buttery crust is crafted from cold butter and flour, chilled for perfect texture. The cherry layer features fresh pitted cherries mixed with sugar, cornstarch, and a hint of lemon and almond extract for depth. Baking results in a bubbling, fragrant dessert cooled before serving, making it ideal for warm weather occasions.
The kitchen window was open, catching that perfect June breeze, and I stood there flour-dusted trying to remember exactly how my grandmother wove those lattice strips without looking. Mine kept coming out lopsided, with some gaps too wide and others barely there. Three pies later, I finally found my rhythm—turns out the secret is cutting all your strips to the same length before you start weaving.
I brought this to a Fourth of July potluck once, still slightly warm, and watched my friends husband literally hover around the serving table until it was cool enough to cut. He took the first slice, closed his eyes, and said something about it tasting like his childhood summers. Now every time I see cherries at the farmers market, I remember how quiet that backyard got when everyone took their first bite together.
Ingredients
- 2 1/2 cups all-purpose flour: The backbone of your crust—spoon and level it, dont scoop, or youll end up with dough thats tough instead of tender
- 1 cup unsalted butter, cold: Keep those cubes icy cold, seriously, pop them in the freezer for 15 minutes before you start
- 6 to 8 tbsp ice water: Start with less and add more only if the dough is crumbling—you want it to just hold together when squeezed
- 5 cups cherries: Fresh is ideal but frozen works perfectly, just give them a good thaw and drain off that excess liquid
- 3/4 cup granulated sugar: This is the sweet spot that lets the cherries natural tartness still shine through
- 1/4 cup cornstarch: The magic thickener that transforms all those cherry juices into that luscious, spoon-clinging filling
- 1 tbsp lemon juice: A bright counterpoint that wakes up the whole filling and balances all that sugar
- 1/4 tsp almond extract: Dont skip this, its the secret ingredient that makes people ask what you did differently
- 1 egg beaten: For that golden, bakery-style finish that makes your pie look like it came from a professional kitchen
Instructions
- Make the dough like you mean it:
- Whisk your flour, salt, and sugar in a big bowl, then cut in that freezing cold butter until the mixture looks like coarse crumbs with some pea-sized pieces still visible. Sprinkle the ice water over top, tossing gently with a fork until the dough just starts to clump together. Divide it in half, press each half into a disk, wrap them tight, and let them chill in the fridge for at least an hour—this step is non-negotiable for a flaky crust.
- Get your filling ready:
- In a large bowl, toss those cherries with the sugar, cornstarch, lemon juice, almond extract, and salt until every single cherry is coated. Let it sit while you roll out your crust—the sugar will draw out some of the cherry juices, which helps dissolve the cornstarch evenly.
- Roll out the bottom crust:
- On a well-floured surface, roll one dough disk into a 12-inch circle, lifting and rotating it frequently to prevent sticking. Fold it gently in quarters, transfer it to your 9-inch pie dish, and unfold it carefully. Leave about an inch of overhang for now—well deal with that prettier later.
- Build that lattice top:
- Roll out the second dough disk and cut it into 3/4-inch wide strips. Lay about half of them horizontally across your filled pie, spacing them evenly. Fold back every other strip, lay a vertical strip perpendicular, fold the horizontal strips back over it, then repeat the weaving process until youve created that classic basketweave pattern.
- Finish with flair and bake:
- Trim any excess dough, then fold and crimp the edges however you like—pinch them for a classic look or press them with a fork for something rustic. Brush the entire top with that beaten egg and sprinkle with coarse sugar if youre feeling fancy. Bake at 400°F for 20 minutes, then drop the temperature to 350°F and go another 35 minutes until the crust is deeply golden and that filling is bubbling up through the lattice like crazy. Cool it on a wire rack for at least two hours—I know, the waiting is torture, but cutting into a warm pie means all those juices will run everywhere instead of setting up properly.
 Pin This
 My daughter asked if lattice was absolutely necessary, suggesting we could just slap a whole crust on top and call it a day. I told her about watching my grandmother sit at her kitchen table, hands moving so fast the strips seemed to weave themselves, and how some things are worth the extra effort. Now she asks to help with the weaving part every single time, and honestly, her lopsided attempts taste even better than my perfect ones.
Working With Store Bought Crust
Look, were all tired sometimes, and using a refrigerated pie crust is not a crime against humanity. Just let them soften slightly on the counter before unrolling, or theyll crack and youll spend more time patching than you would have just making your own dough. If you go this route, brush the bottom crust with a beaten egg before adding the filling—it helps prevent that soggy bottom situation that can happen with pre-made crusts.
Fresh vs Frozen Cherries
Fresh cherries are glorious when theyre in season, but frozen ones actually work beautifully here and sometimes even release more juices during baking. The key is thawing them completely and draining off that excess liquid before mixing them with the sugar and cornstarch. I once skipped the draining step and ended up with cherry soup instead of pie filling—live and learn.
The Cooling Game
This is where most people mess up, and I say this with love because I have absolutely been that person who could not wait another single minute. The filling needs those two hours of cooling time to properly set up, or youll end up with a delicious but messy situation when you cut that first slice. Think of it as building anticipation—the best things in life are worth waiting for.
- Place the pie on a windowsill if you want to torture yourself with the smell while it cools
- A fully cooled pie is easier to slice neatly, which matters if you care about presentation
- Leftovers keep at room temperature for a day, then refrigerate for up to four days
 Pin This
 Theres something deeply satisfying about pulling a lattice cherry pie from the oven, watching the sugar sparkle on the crust, and knowing you created something that looks and tastes like pure summer. Share it with people you love, or eat it standing over the sink at midnight—I wont judge either way.
Recipe FAQs
- → How do I achieve a flaky lattice crust?
-
Use cold butter cut into flour until crumbly, chill dough before rolling, and weave strips tightly for stability.
- → Can I use frozen cherries for the filling?
-
Yes, thaw and drain frozen cherries well to avoid excess liquid in the filling.
- → What adds depth to the cherry filling flavor?
-
Lemon juice brightens the filling, while almond extract offers a subtle nutty aroma enhancing cherries.
- → How long should the pie cool before slicing?
-
Let it cool on a wire rack for at least two hours to allow the filling to set properly.
- → What’s the best way to prevent the crust edges from burning?
-
Cover the edges with foil partway through baking or use a pie crust shield to protect from over-browning.