 Pin This
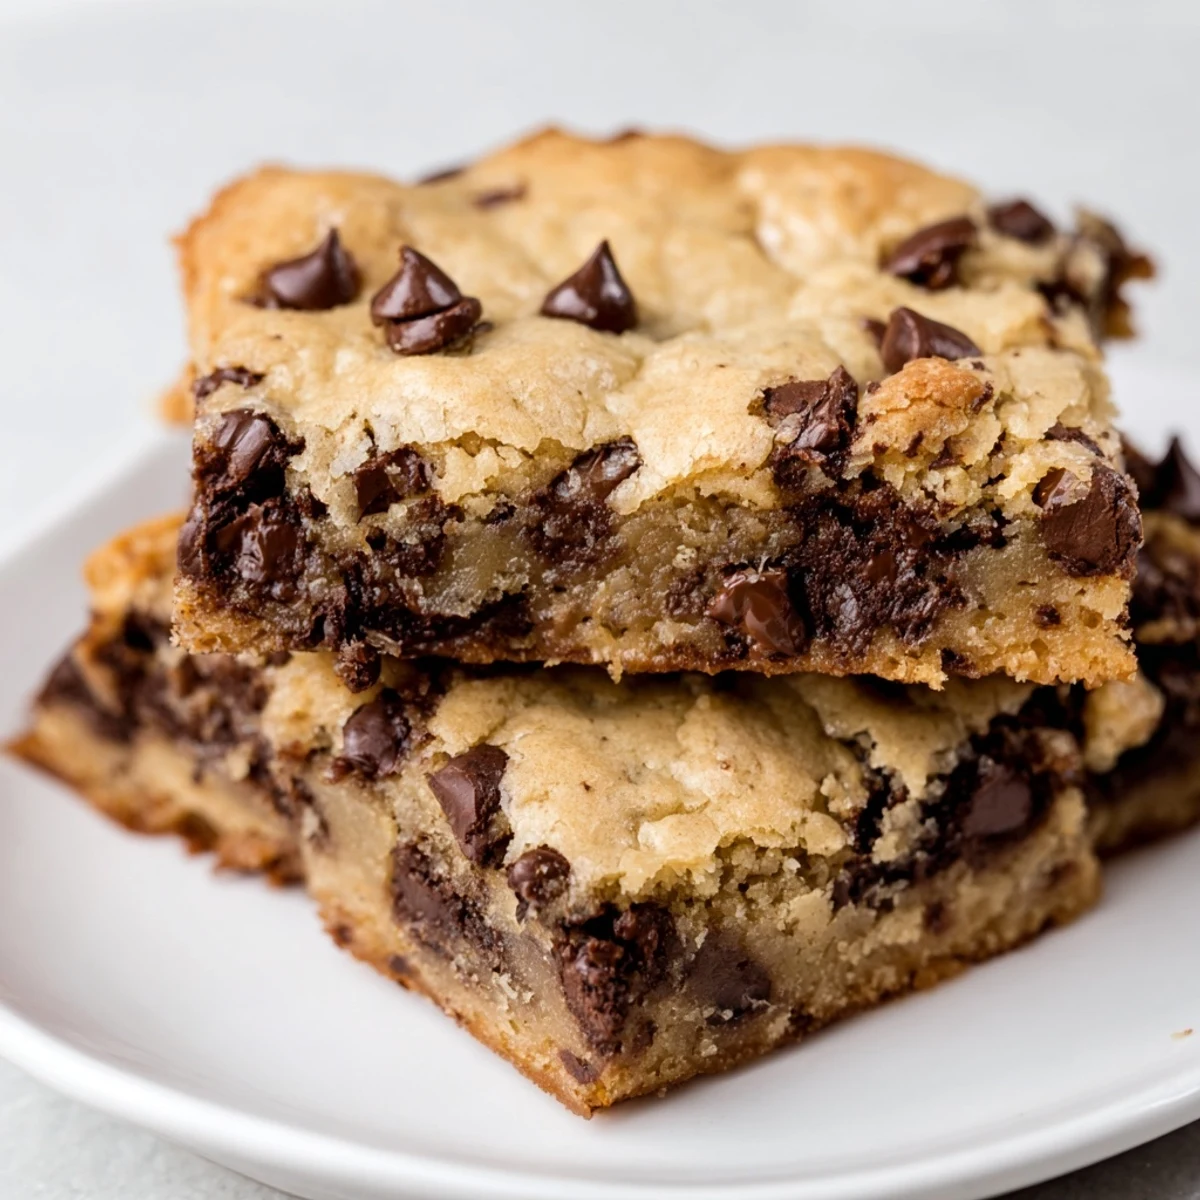
 These thick, chewy chocolate chip cookie bars combine the delicious taste of classic chocolate chip cookies with the convenience of a bar format. Melted butter creates a rich base, while brown sugar ensures moistness and golden edges. The bars are generously studded with chocolate chips and optional nuts for added texture.
With just 15 minutes of prep and 25 minutes of baking, they're ready in 40 minutes total. Perfect for sharing at gatherings, packing in lunches, or enjoying as an anytime treat with a scoop of vanilla ice cream.
I was in the middle of an absolute baking slump when I first tried making these chocolate chip cookie bars instead of individual cookies. The kitchen smelled like brown sugar and melted butter, and I remember laughing at how ridiculously simple it felt compared to scooping dozens of cookies. My husband wandered in, drawn by the vanilla-scented air, and we could barely wait for them to cool before cutting off the corner pieces.
Last summer, I brought these bars to a neighborhood potluck, cutting them into smaller squares so more people could try them. I had arranged them on my blue ceramic platter, feeling slightly nervous about meeting new neighbors, when a little girl took one bite and declared them better than her grandmas. Her mother looked mortified, but everyone else burst out laughing, and suddenly conversations flowed easily.
Ingredients
- Light Brown Sugar: The higher ratio of brown to white sugar is my secret weapon for that perfect chewy texture and almost caramel-like undertones.
- Melted Butter: Unlike many cookie recipes that call for creaming butter, using melted butter creates a denser, richer result that works perfectly for bars.
- All-Purpose Flour: Measure by scooping your flour into the measuring cup and leveling it with a knife for the right consistency.
- Chocolate Chips: I sometimes use a mix of semi-sweet and dark chocolate chips when Im feeling fancy.
- Nuts: Completely optional, but a half cup of toasted walnuts adds a wonderful texture contrast to the soft bars.
Instructions
- Prep your pan:
- Preheat your oven to 350°F and line your 9x13-inch pan with parchment paper, letting the sides hang over for easy removal later. The parchment makes cleanup nearly effortless.
- Mix dry ingredients:
- Whisk the flour, baking soda, and salt in a bowl until well combined. This helps distribute the leavening agents evenly throughout the dough.
- Create your base:
- Mix the melted butter with both sugars until the mixture looks like wet sand with no sugar lumps remaining. It should feel silky between your fingers.
- Add the eggs:
- Beat in one egg at a time, then pour in the vanilla. The mixture will become shinier and slightly lighter in color.
- Combine wet and dry:
- Gently fold the flour mixture into the wet ingredients just until no flour streaks remain. The dough will be thick and somewhat sticky.
- Add the goodies:
- Stir in chocolate chips and nuts if using, distributing them evenly through the dough. This is where the magic happens.
- Pan and spread:
- Transfer the dough to your prepared pan and spread it into an even layer. I like to use slightly damp hands to press it out without sticking.
- Bake to perfection:
- Bake for 23-27 minutes until the edges are golden and the center is just set. The center might look slightly underdone, which is exactly what you want for that gooey texture.
- Exercise patience:
- Let the bars cool completely in the pan before cutting. I know its tempting to dig in right away, but trust me on this one.
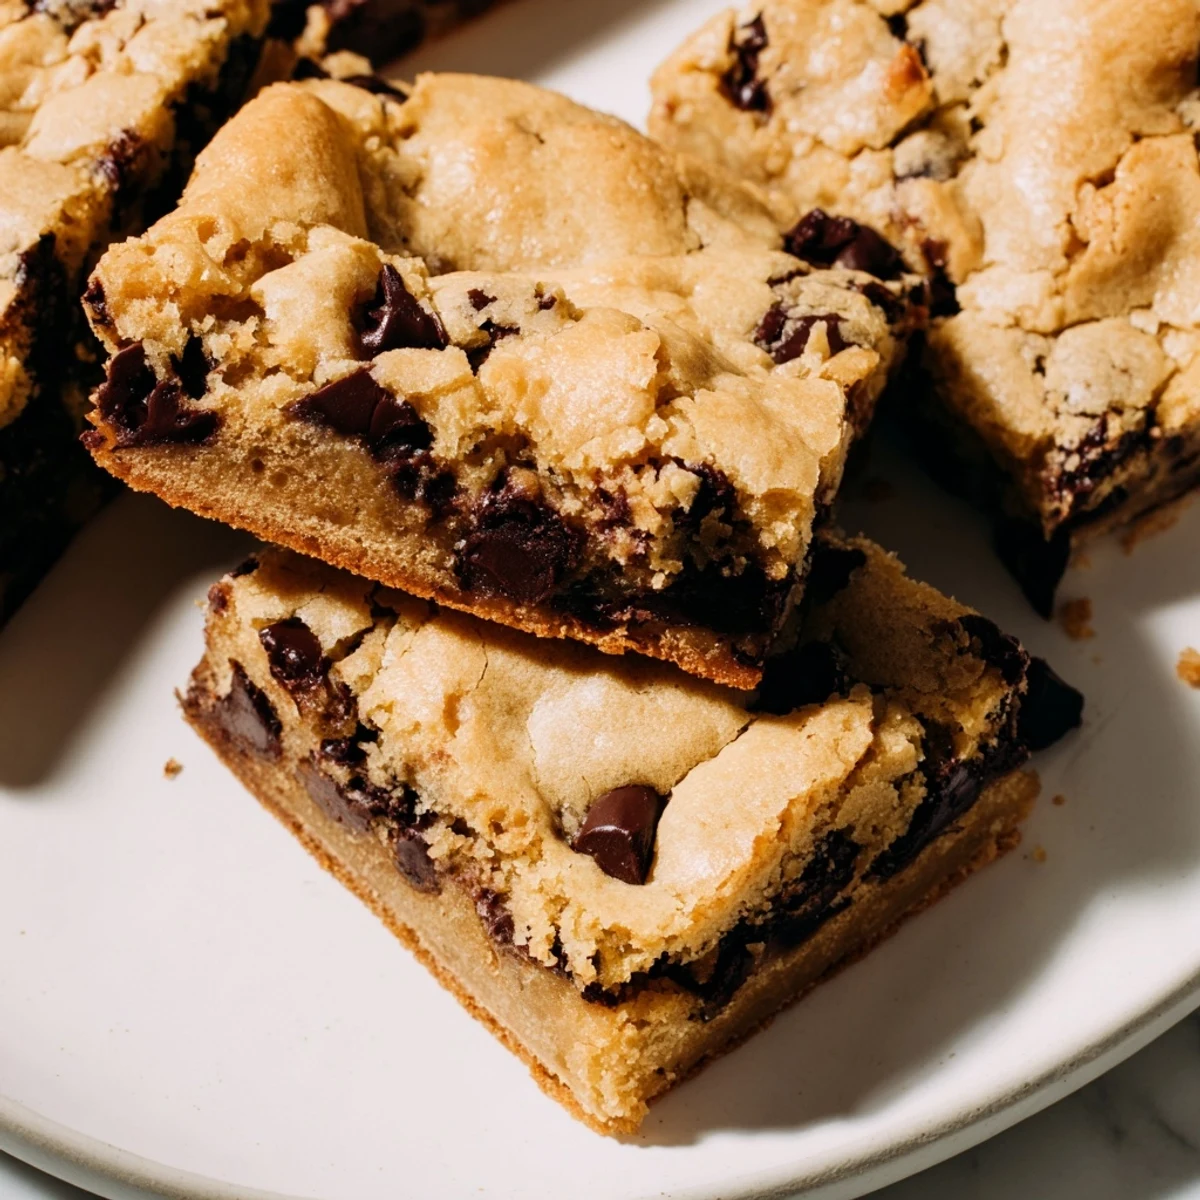 Pin This
 One rainy afternoon, my daughter was having a tough day after a math test, so we made these bars together as comfort food. As we measured and mixed, her mood gradually lifted with each step. By the time we were licking the spatula clean of cookie dough, she was giggling again, and weve since made it our little tradition for tough days.
Storage Tips
These bars develop an even deeper flavor on the second day, assuming they survive that long. Ive found that storing them in an airtight container with a slice of bread keeps them perfectly chewy for up to five days, though they rarely last that long in my house.
Variations Worth Trying
Over the years, Ive played around with this recipe countless times. Once when we were out of vanilla, I substituted almond extract at half the amount and discovered a whole new dimension of flavor that my sister-in-law now requests specifically. Another time, I browned the butter first and was rewarded with notes of toffee that elevated the whole bar.
Serving Suggestions
While these bars are perfect on their own, serving them slightly warmed with a scoop of vanilla ice cream creates a dessert worthy of company. During the holidays, I sometimes dust them with a little powdered sugar or drizzle with caramel sauce for a more festive presentation.
- Cut them into different sizes depending on the occasion, tiny squares for a dessert platter or larger bars for a lunchbox treat.
- For an extra special touch, sprinkle a few flakes of sea salt on top right after baking to enhance the chocolate flavor.
- If serving to guests, warm them in a low oven for about 5 minutes before serving to reactivate that fresh-baked aroma.
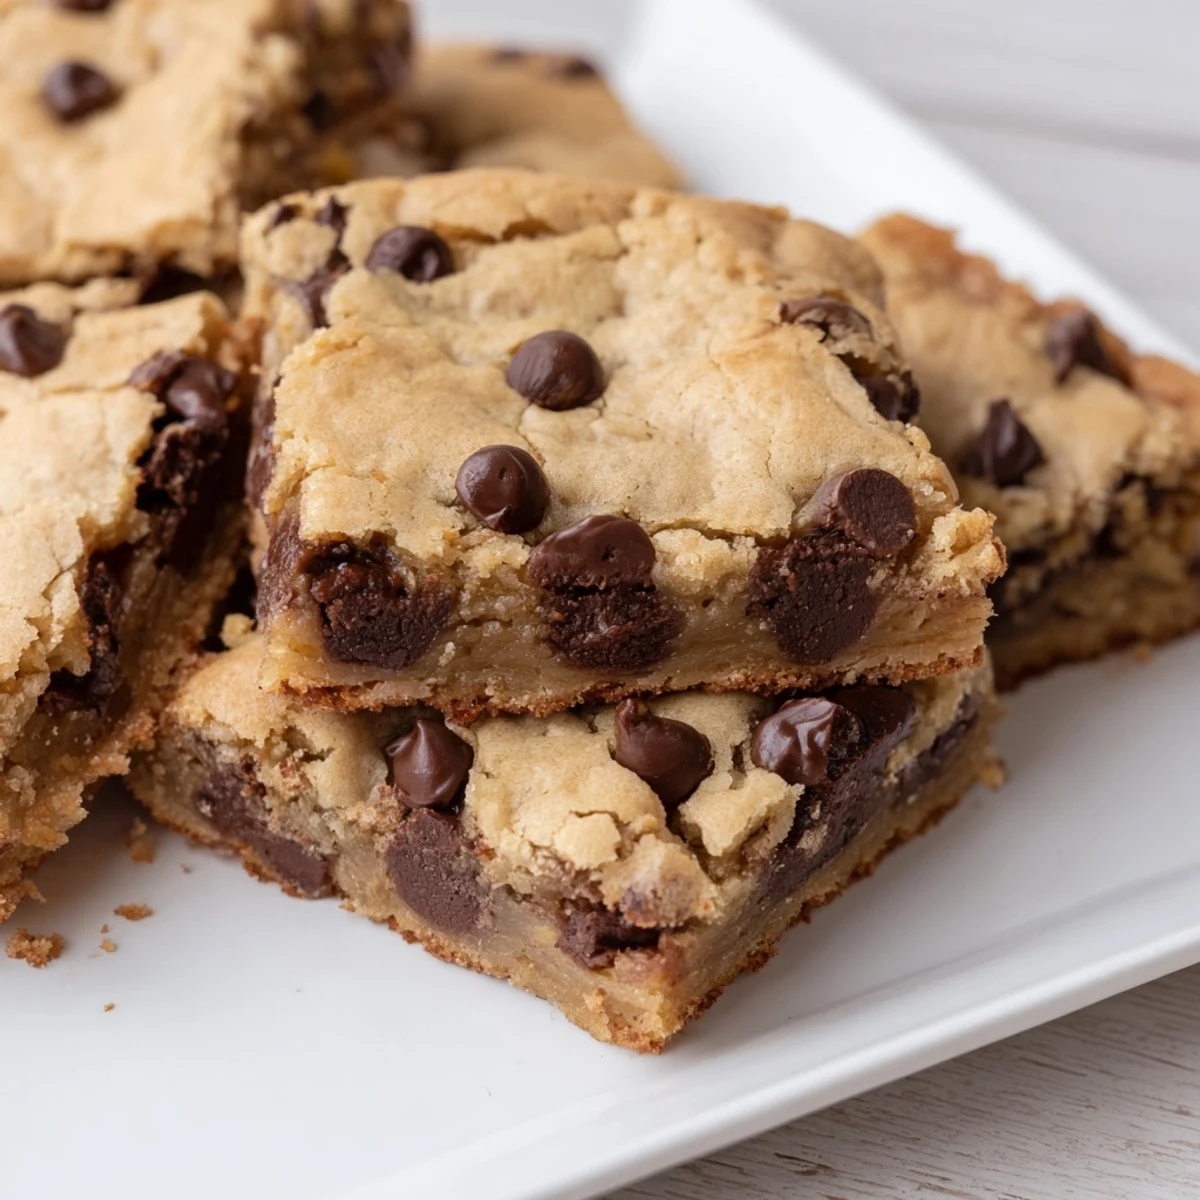 Pin This
 These chocolate chip cookie bars have become my signature bring-along dessert, requested at gatherings and quietly fought over when the platter makes its rounds. Theyre proof that sometimes the simplest recipes bring the most joy.
Recipe FAQs
- → Can I make these cookie bars without nuts?
-
Absolutely! The nuts are completely optional. You can either omit them entirely or substitute with additional chocolate chips for extra chocolatey goodness.
- → How do I know when the bars are properly baked?
-
The bars are done when the edges are golden brown and a toothpick inserted in the center comes out with a few moist crumbs (not wet batter). For gooier centers, aim for the lower end of the baking time (23 minutes).
- → Can I use different types of chocolate chips?
-
Yes! While semisweet chips provide a balanced flavor, you can use milk chocolate chips for a sweeter result, dark chocolate for less sweetness, or even a mix of different varieties for complex flavor.
- → How should I store these cookie bars?
-
Store in an airtight container at room temperature for up to 5 days. For longer storage, wrap individual bars in plastic wrap and freeze for up to 3 months.
- → Can I double this recipe for a crowd?
-
Yes, you can double the recipe and bake in two separate pans. Avoid using a single larger pan as this will affect baking time and texture.
- → Why did my cookie bars turn out cakey instead of chewy?
-
Cakey bars typically result from overmixing the dough or using too much flour. Be sure to measure flour correctly (by spooning into measuring cups, not scooping) and mix just until ingredients are combined.