 Pin This
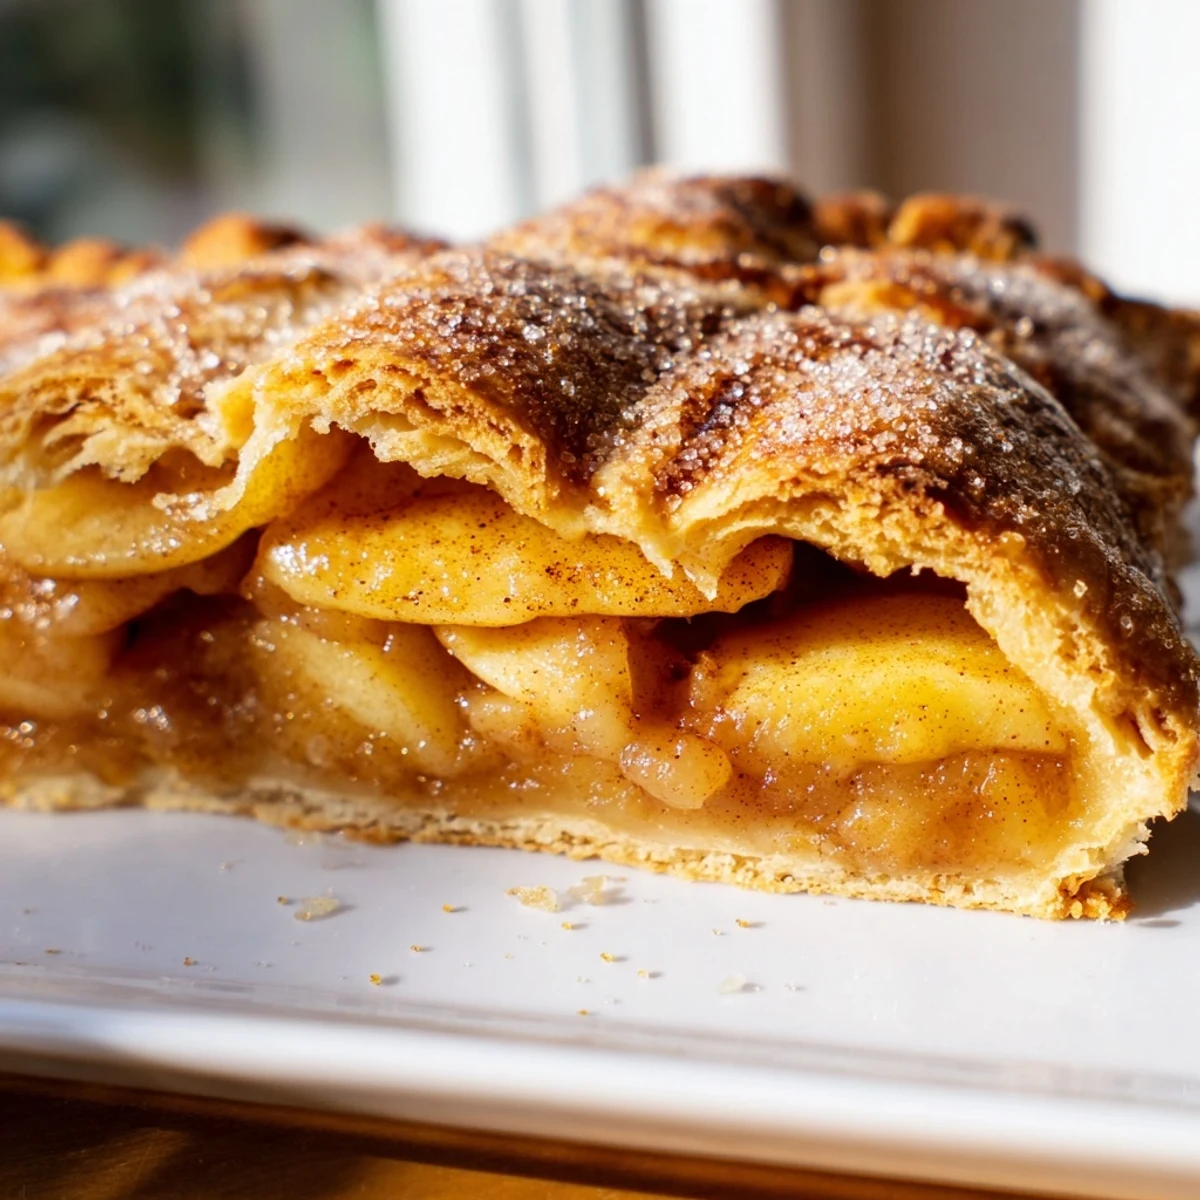
 This impressive slab pie combines a buttery, flaky crust with tender spiced apple filling. The rectangular shape makes it ideal for serving large groups, yielding 12 generous portions. With just 30 minutes of prep time, you can create a stunning dessert that feeds the whole family. The combination of Granny Smith and Honeycrisp apples creates the perfect balance of tart and sweet, while cinnamon and nutmeg add warm, cozy flavors.
The kitchen smelled incredible when I first pulled this slab pie from the oven. My roommate Sarah actually abandoned her study session to follow the scent, asking what kind of magic was happening in our apartment. We ended up eating the first squares straight from the pan, burning our tongues slightly but not caring one bit. Now it's my go-to whenever I need to feed a crowd without the fuss of individual slices.
Last Thanksgiving, my aunt watched me assemble this and commented on how much faster it came together than her usual double-crust rounds. When she took her first bite later that evening, she actually went silent for a moment, then announced she was officially converted to slab pies forever. There's something about that higher filling-to-crust ratio that makes people instantly understand the appeal.
Ingredients
- 3 1/2 cups all-purpose flour: The foundation for a sturdy yet tender crust that can hold all those apple slices without getting soggy
- 1 tablespoon granulated sugar: Just enough sweetness in the crust to balance the tart apples and create a beautiful golden color
- 1 1/2 teaspoons salt: Essential for enhancing flavor and strengthening the gluten structure
- 1 1/2 cups cold unsalted butter, cubed: Keeping it ice-cold is the secret to creating those flaky layers that make pastry so irresistible
- 1/2 cup ice water: Add gradually since humidity affects how much moisture your flour needs to come together
- 8 medium apples: A mix of Granny Smith and Honeycrisp gives you the perfect balance of tart and sweet with some apples holding their shape better than others
- 2/3 cup granulated sugar and 1/3 cup light brown sugar: The combination creates depth while sweetening the filling just enough to let the apple flavor shine
- 1 1/2 teaspoons cinnamon and 1/4 teaspoon nutmeg: Warm spices that make everything taste like autumn comfort
- 3 tablespoons cornstarch: The thickener that transforms all those apple juices into a luscious, sliceable filling instead of a soupy mess
- 2 teaspoons lemon juice: Brightens the filling and prevents apples from oxidizing as you work
- 1 egg beaten with 1 tablespoon milk: Creates that gorgeous golden finish and helps coarse sugar stick to the top
Instructions
- Get your oven ready and preheat to 400°F:
- Line a 10x15-inch rimmed baking sheet with parchment paper so you can easily lift out the pie later if needed
- Make the pastry dough:
- Whisk flour, sugar, and salt in a large bowl, then work in cold butter with a pastry cutter or your fingers until you see coarse crumbs with some pea-sized pieces remaining
- Bring the dough together:
- Sprinkle in ice water a tablespoon at a time, tossing gently with your hands just until the dough holds together when squeezed
- Divide and chill briefly:
- Split dough into two pieces with one slightly larger for the bottom crust, wrap separately, and refrigerate while you prepare the apples
- Prepare the apple filling:
- Toss all those peeled, sliced apples with both sugars, spices, cornstarch, and lemon juice until every piece is evenly coated
- Roll out the bottom crust:
- On a lightly floured surface, roll the larger dough piece into a rectangle that's slightly larger than your pan, then carefully transfer it to cover the bottom and up the sides
- Add the apple filling:
- Arrange those spiced apples evenly over the bottom crust, pressing them down gently to fit as many as possible
- Top with the second crust:
- Roll out the remaining dough and drape it over the apples, then trim the edges and pinch them together to seal everything inside
- Create steam vents and add the finishing touches:
- Cut a few strategic slits in the top crust, brush with the egg wash, and sprinkle with coarse sugar for that bakery-worthy sparkle
- Bake until golden and bubbling:
- Slide the pan into the oven for 35 to 40 minutes until the crust is deeply golden and you can see the filling bubbling actively through those vents
- Patience pays off:
- Let the pie cool for at least 30 minutes so the filling sets up properly, otherwise you'll end up with a delicious but messy situation
 Pin This
 My cousin's wedding reception featured this slab pie instead of a traditional cake, and I've never seen people line up faster for dessert. The bride told me later it was actually her late grandmother's recipe adapted for a larger crowd, which made serving it feel even more special. Sometimes the simplest desserts create the most meaningful moments.
Choosing the Right Apples
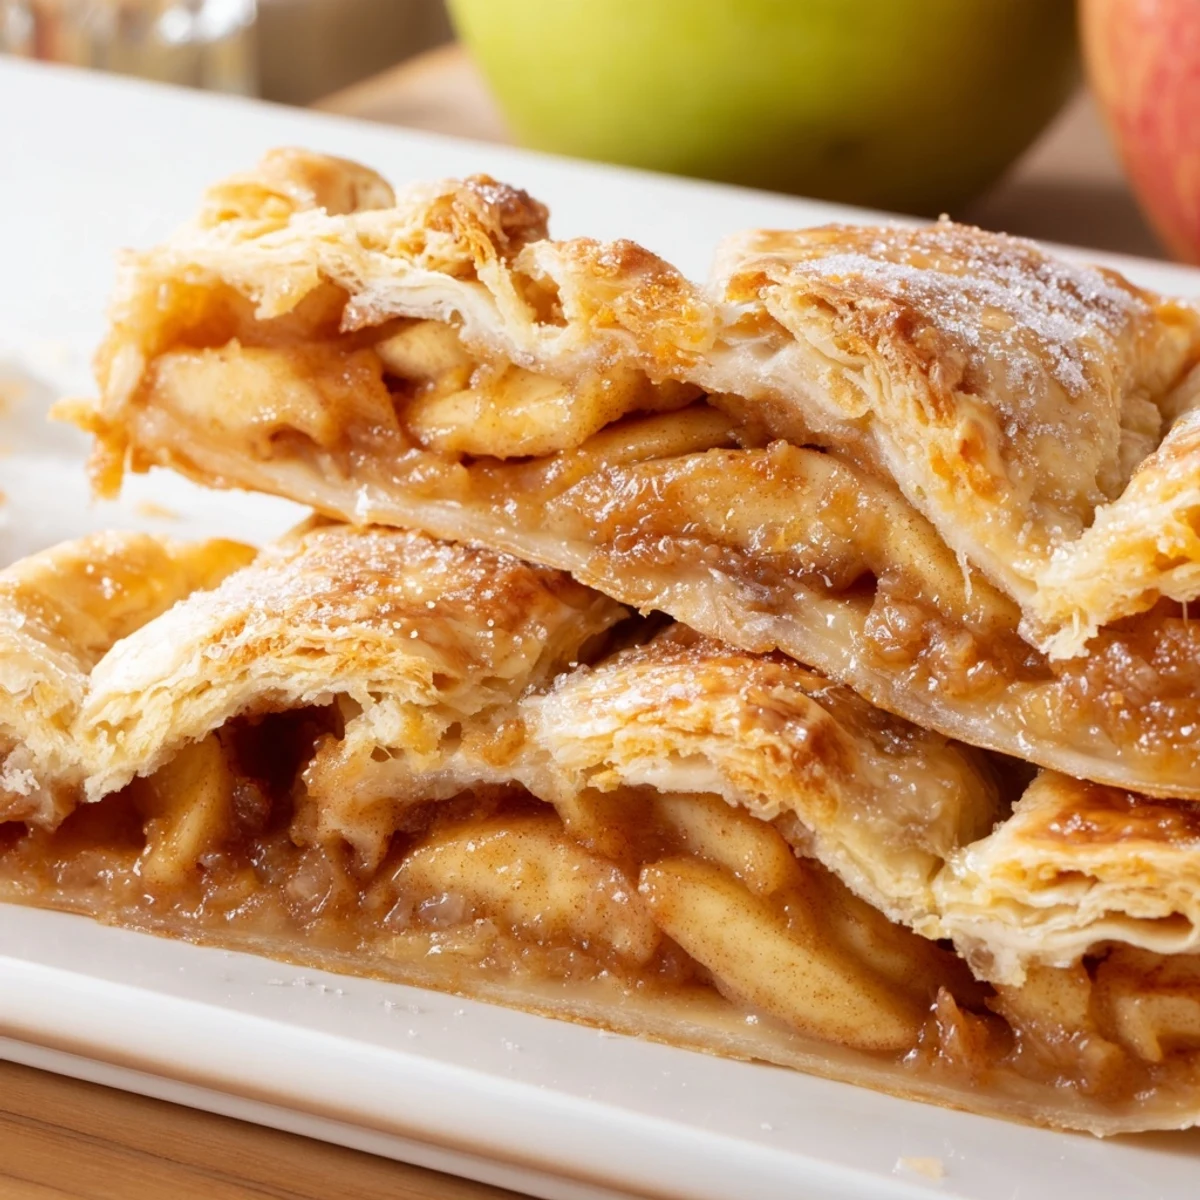
After years of experimentation, I've learned that mixing apple varieties makes all the difference. Granny Smiths hold their shape beautifully and provide tartness, while Honeycrisps break down slightly to create those silky pockets of fruit between the firmer pieces. I always taste an apple slice before committing to the whole batch since sweetness varies so much by season and source.
Working with Slab Pie Dough
Rolling pastry into a rectangular shape can feel trickier than the traditional round, but the rimmed baking sheet actually makes assembly much easier. If the dough tears or becomes too soft, simply patch it with scraps and return the pan to the refrigerator for 15 minutes. That brief chill is often all it takes to get things back under control.
Serving and Storage
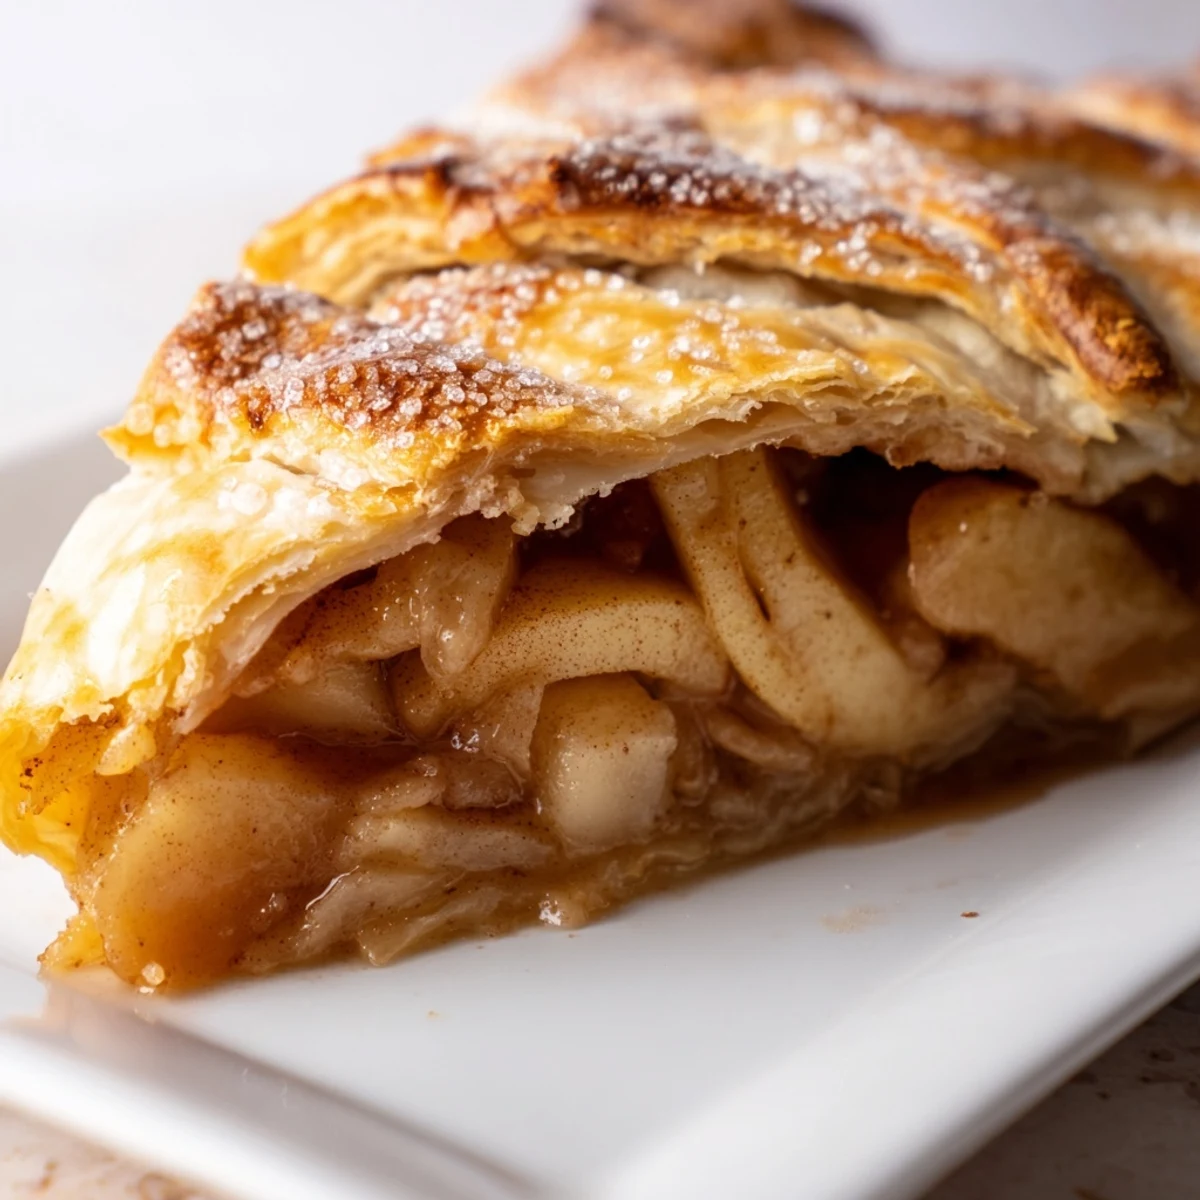
While this pie is fantastic warm from the oven, I actually think it reaches peak flavor after sitting at room temperature for a few hours. The spices seem to deepen and meld together in a way that makes each slice more compelling than the last. Leftovers keep remarkably well covered at room temperature for up to two days, though in my house they rarely last that long.
- For breakfast the next morning, briefly warm individual squares and serve with a dollop of Greek yogurt
- This pie freezes exceptionally well if wrapped tightly before baking, though you'll need to add about 10 minutes to the baking time
- Serve with sharp cheddar cheese for a sweet and savory combination that will surprise skeptics
 Pin This
 There's something deeply satisfying about serving a dessert that looks impressive but comes together with such straightforward techniques. Every time I make this, I'm reminded that the best recipes are the ones that bring people together around the table, lingering over that last perfect square.
Recipe FAQs
- → What apples work best?
-
Granny Smith and Honeycrisp apples are ideal because they hold their shape during baking. Mixing tart and sweet varieties creates balanced flavor.
- → Can I make this ahead?
-
Yes, prepare the entire slab pie up to a day in advance. Store covered at room temperature and serve warm or at room temperature.
- → How should I store leftovers?
-
Keep covered at room temperature for up to 2 days. For longer storage, refrigerate in an airtight container for up to 5 days.
- → Can I freeze this?
-
Bake and cool completely, then wrap tightly in plastic and foil. Freeze for up to 3 months. Thaw overnight at room temperature before serving.
- → What size pan do I need?
-
A 10x15-inch rimmed baking sheet is essential. The shallow, rectangular shape creates the characteristic slab pie that's easy to slice and serve.
- → Why is my crust soggy?
-
Ensure the pie cools for at least 30 minutes before slicing. This allows the cornstarch-thickened filling to set properly so the crust stays crisp.