 Pin This
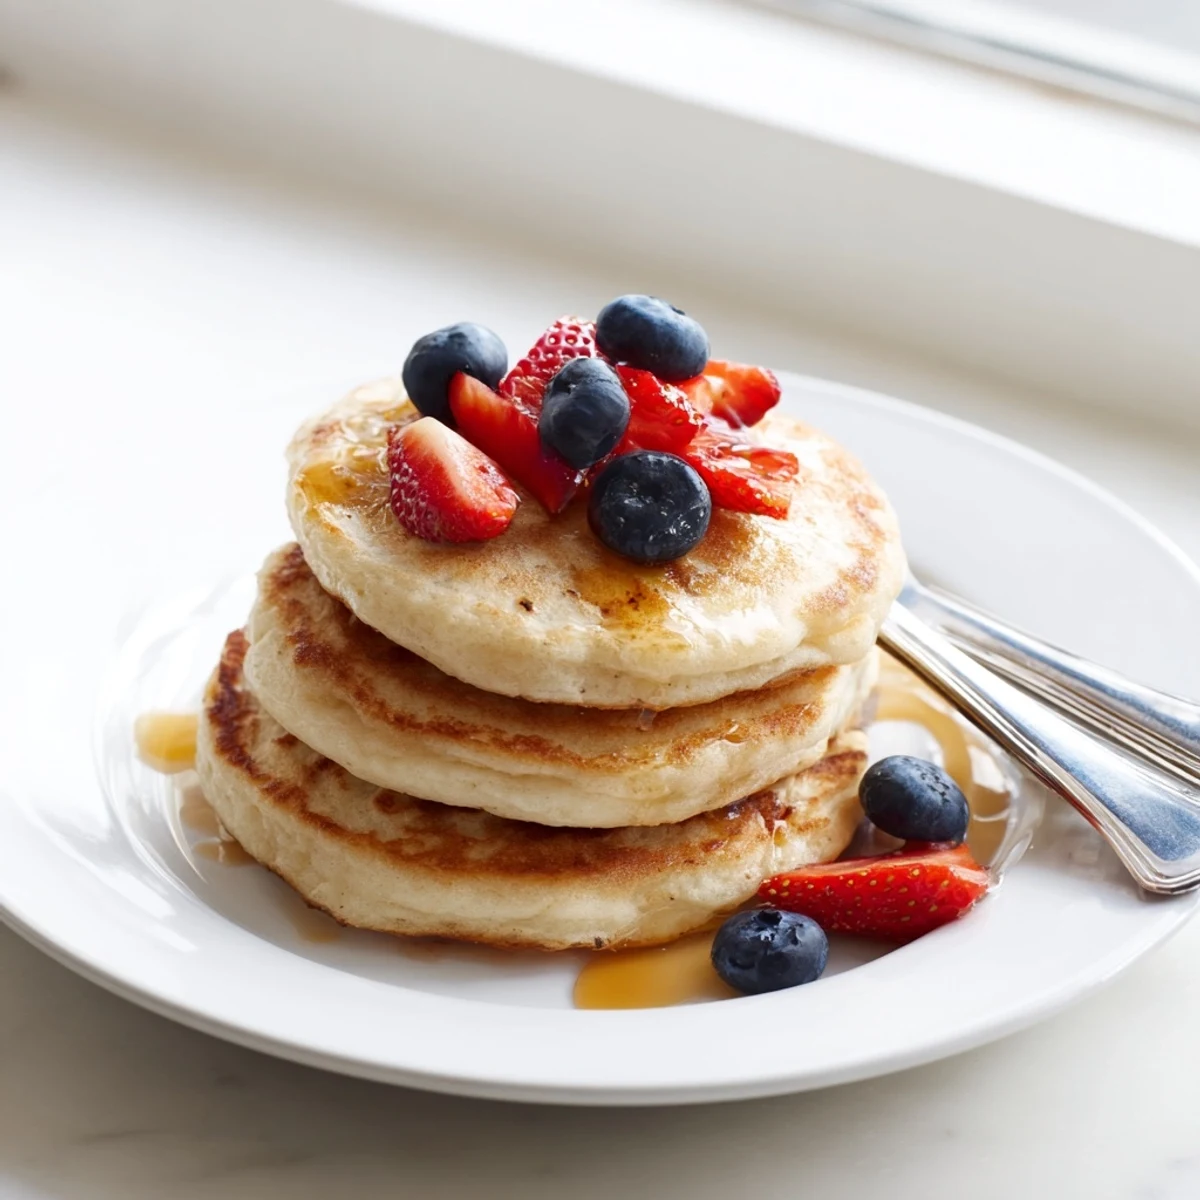
 These classic American pancakes feature a perfectly golden exterior with an incredibly light and tender interior. The secret lies in the proper mixing technique—combining wet and dry ingredients until just combined creates that signature fluffy texture everyone loves.
Ready in just 25 minutes from start to finish, this breakfast favorite yields eight generous pancakes, perfect for feeding a hungry family or weekend guests. The versatility makes them ideal for various toppings, from traditional maple syrup to fresh seasonal berries or whipped cream.
For optimal results, let the batter rest briefly before cooking to allow the baking powder to activate fully. This simple step ensures maximum fluffiness and consistent rise every time you make them.
My roommate used to make these every Sunday morning, and the smell would wake me up before my alarm. She claimed the secret was patience, which seemed ironic considering she couldn't sit still for five minutes. Turns out she was right about the batter, though.
Last summer I made these for my niece's sleepover birthday breakfast. She watched me flip every single one with wide eyes, as if I were performing magic instead of just making breakfast. Now she calls them "special auntie pancakes" every time she visits.
Ingredients
- All-purpose flour: The protein structure here is what keeps them tender but not tough
- Baking powder: This is your lift; make sure it's fresh or they'll be flat
- Salt: Just enough to wake up all the flavors
- Granulated sugar: Helps the edges caramelise into that golden crust we all want
- Whole milk: The fat content matters for richness
- Large egg: Room temperature eggs incorporate better into the batter
- Unsalted butter, melted: Adds flavor and helps the browning
- Vanilla extract: Don't skip this; it makes them taste like proper breakfast
- Butter or oil for cooking: Butter tastes better, but oil gives you more control over the heat
Instructions
- Whisk the dry ingredients together:
- Grab your largest bowl and combine the flour, baking powder, salt, and sugar. Make sure there are no clumps of baking powder hiding anywhere.
- Mix the wet ingredients:
- In a separate bowl, whisk the milk, egg, melted butter, and vanilla until you can't see streaks of egg anymore. The mixture should look smooth and slightly glossy.
- Combine gently:
- Pour the wet ingredients into the dry and fold them together with a spatula or wooden spoon. Stop as soon as the flour disappears; some lumps are your friends here.
- Heat your pan:
- Set a non-stick skillet or griddle over medium heat and let it get properly hot. You want the butter to sizzle, not smoke, when it hits the surface.
- Pour and wait:
- Scoop about 1/4 cup of batter per pancake onto the pan. Let them cook until bubbles form on the surface and the edges look dry and set.
- The flip:
- Carefully slide your spatula underneath and flip in one confident motion. Cook another minute or two until the bottom matches that golden brown color.
- Keep them warm:
- Stack finished pancakes on a plate in a 200°F oven while you finish the rest of the batter. This keeps everyone eating at the same time.
 Pin This
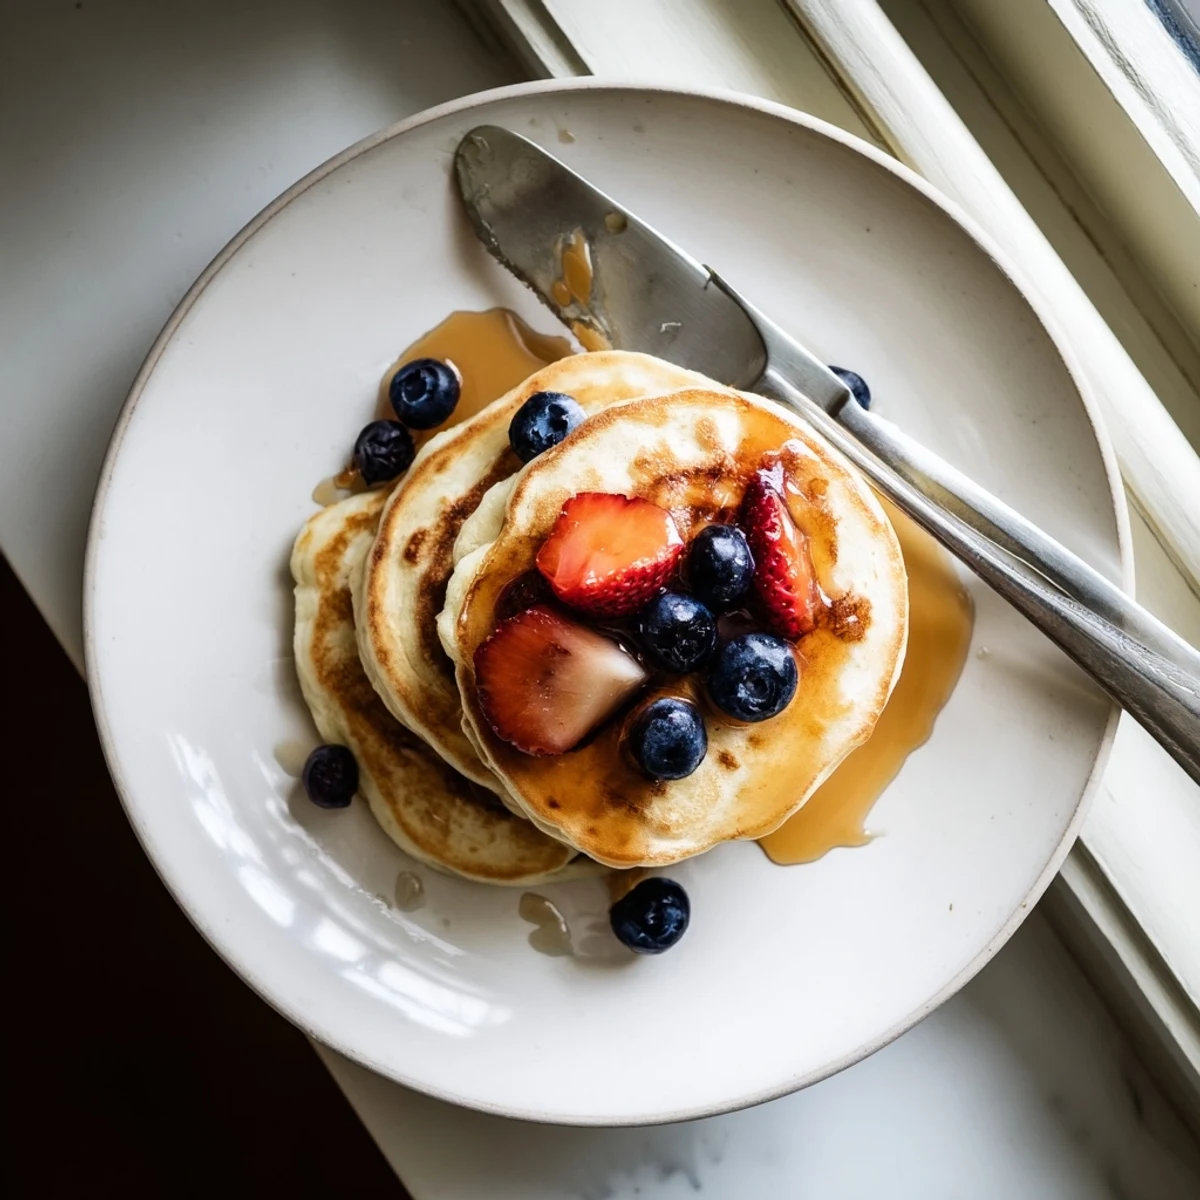
 These became our snow day tradition during that big winter when we were stuck inside for three days straight. Something about warm pancakes with snow falling outside makes everything feel right with the world.
Getting That Restaurant Fluffiness
I worked at a breakfast spot briefly in college, and the head cook told me most home cooks rush the batter. Those few minutes of letting it sit makes all the difference between decent pancakes and the kind that make people close their eyes when they take a bite.
Troubleshooting Your Stack
If your pancakes are spreading too thin, your batter might be too runny or your pan too hot. Conversely, if they're raw in the middle, turn down the heat and let them cook longer. The bubbles are your timer; when they pop and don't fill back in, you're ready to flip.
Make-Ahead and Storage
Mix the dry and wet ingredients separately the night before, then combine them in the morning. Leftovers reheat beautifully in the toaster, which crisps them back up better than the microwave ever could.
- Freeze cooled pancakes between parchment paper for quick weekday breakfasts
- Reheating from frozen takes about 90 seconds in the toaster
- They'll keep in the freezer for up to two months if sealed well
 Pin This
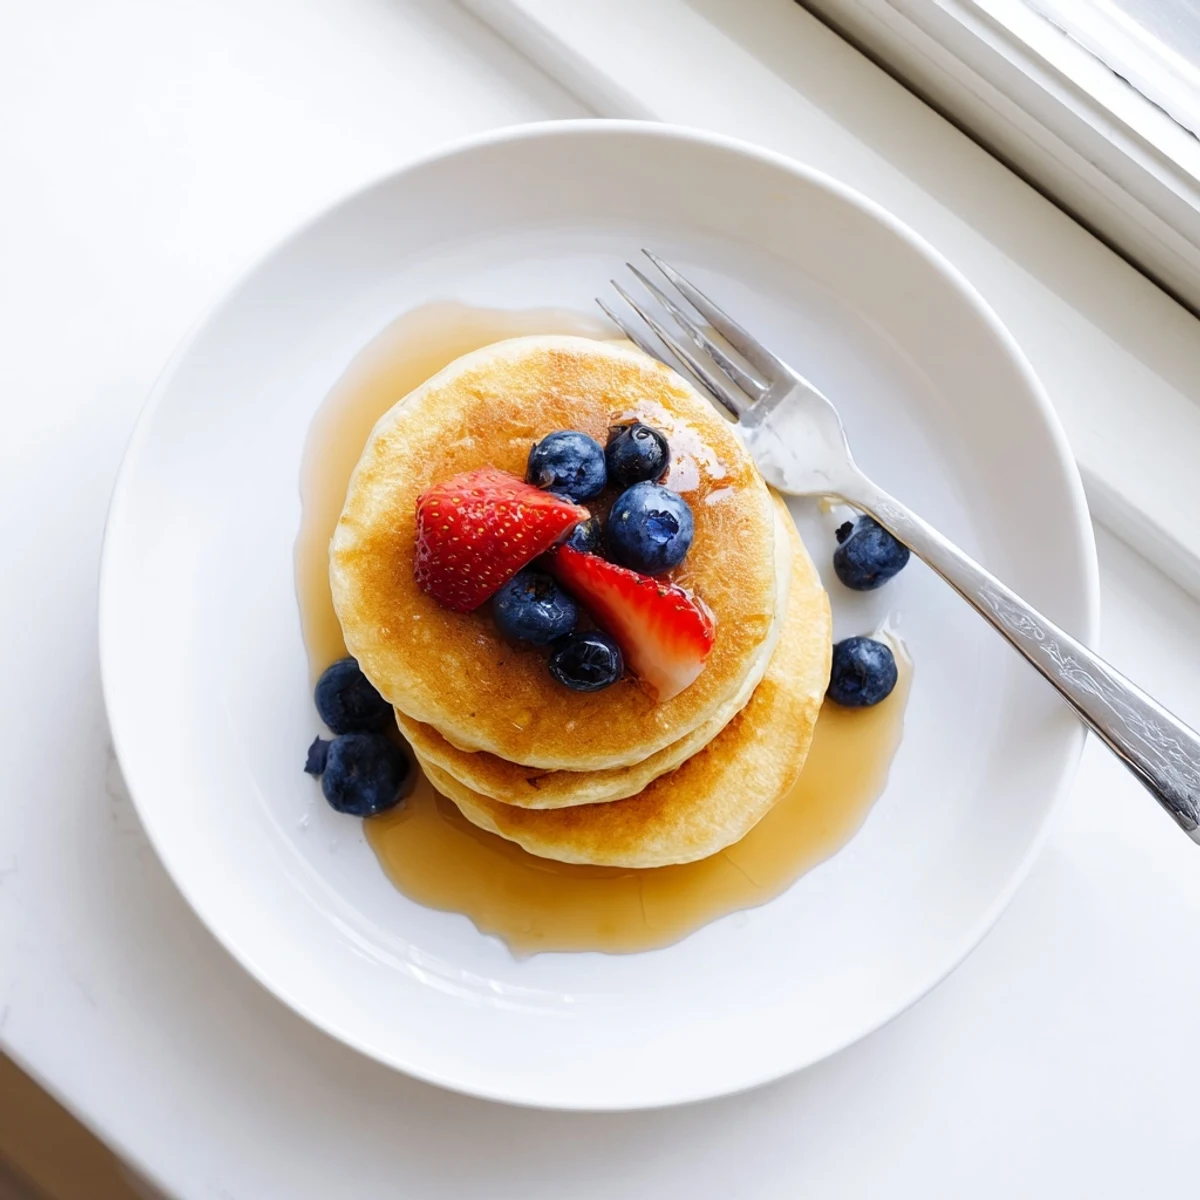
 There's something about standing at the stove, flipping pancakes while the coffee brews, that makes the whole house feel like home.
Recipe FAQs
- → Why do my pancakes turn out dense instead of fluffy?
-
Overmixing the batter develops gluten, resulting in dense, tough pancakes. Mix until ingredients are just combined and small lumps remain visible. Letting the batter rest for 5 minutes before cooking also allows the baking powder to activate properly for maximum fluffiness.
- → Can I substitute buttermilk for regular milk?
-
Absolutely. Replace whole milk with an equal amount of buttermilk for a tangier flavor and even more tender texture. The acidity in buttermilk reacts with baking powder, creating additional lift and lighter results.
- → What temperature should my griddle be?
-
Medium heat (around 375°F or 190°C) works best. Too high and the exterior burns before the interior cooks through. Test by sprinkling a few water droplets on the griddle—they should sizzle gently and evaporate, not dance violently.
- → How do I know when to flip pancakes?
-
Look for bubbles forming across the surface and popping, leaving small holes. The edges should appear set and slightly dry. This typically takes about 2 minutes. Gently lift an edge to check for golden-brown color before flipping.
- → Can I make the batter ahead of time?
-
For best results, make the batter immediately before cooking. However, you can whisk dry ingredients and wet ingredients separately the night before. Combine them just before cooking to maintain optimal texture and leavening power.