 Pin This
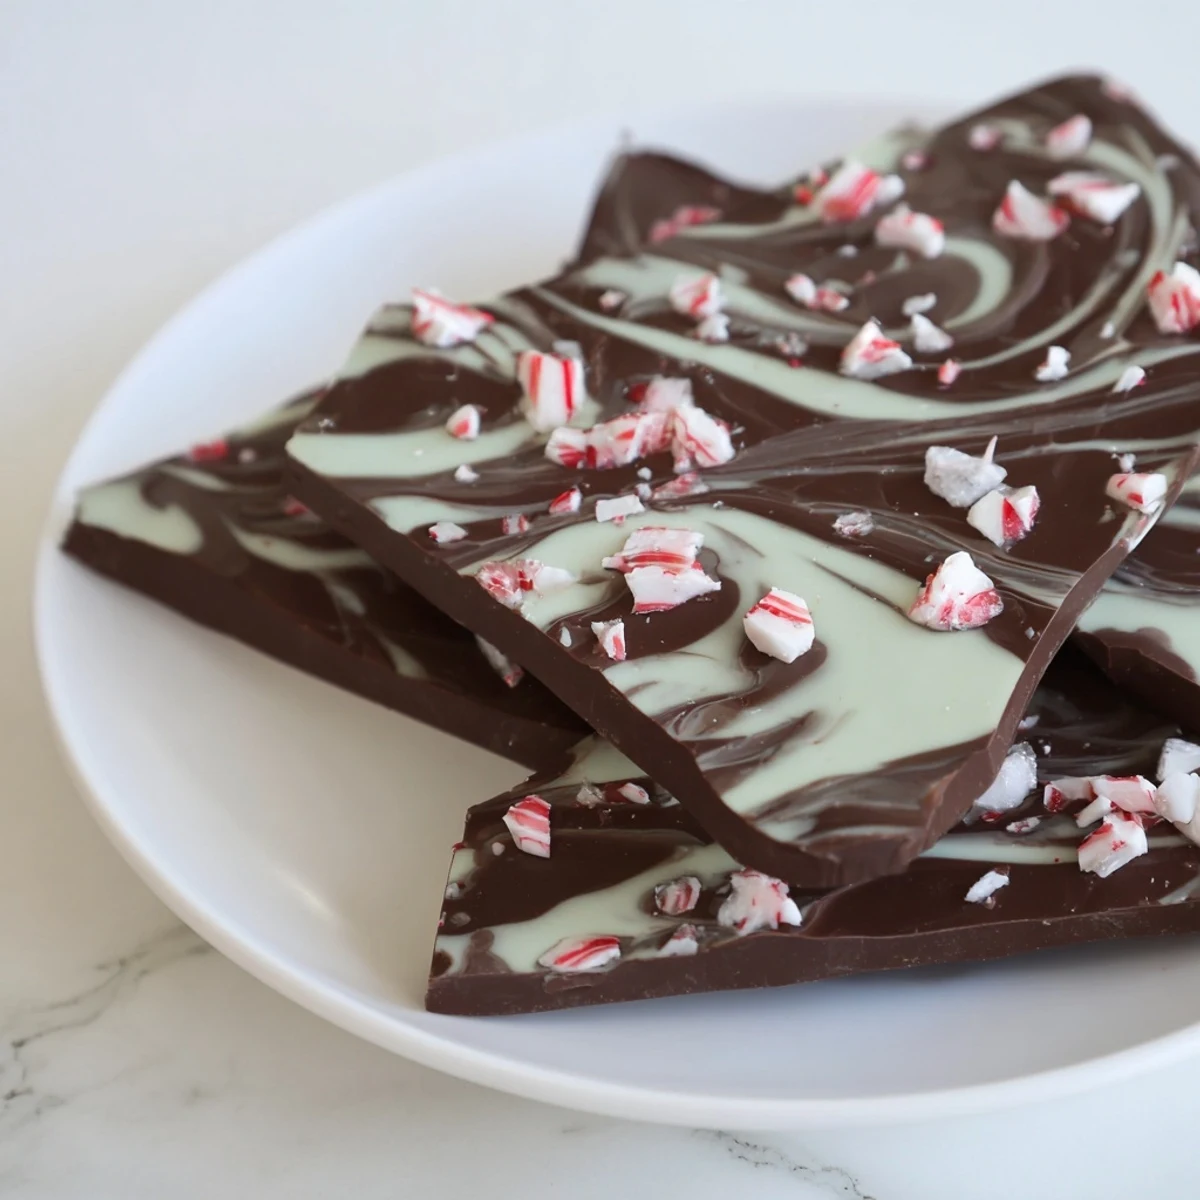
 This treat features smooth melted dark chocolate infused with cooling peppermint extract, layered and adorned with marbled white chocolate swirls. A sprinkle of crushed peppermint candies adds both texture and a burst of fresh flavor. After setting firmly in the refrigerator, this bark breaks into delicate pieces ready to enjoy. Ideal for gifting or satisfying a sweet craving, it pairs well with coffee or dessert wine.
Preparation involves melting chocolates carefully, swirling them to create elegant patterns, and chilling until perfectly set. Optional toppings like nuts or freeze-dried raspberries can add delightful variety.
The smell of melting dark chocolate takes me back to my first apartment kitchen where I discovered that fancy looking confections were actually surprisingly simple to make at home. I remember standing over a double boiler watching glossy dark pools of chocolate form and feeling like a confectioner without any formal training at all. This mint chocolate bark was one of those recipes that made me feel like a kitchen magician turning basic ingredients into something gift worthy.
Last Christmas I made several batches of this bark to give as teacher gifts and coworkers actually asked if I had bought it from a specialty chocolate shop. The marbled white chocolate swirl looks impressive but honestly takes maybe two minutes of swirling with a toothpick. My sister in law still talks about the batch I brought to the cookie exchange and she is not usually one to remember desserts.
Ingredients
- 350 g (12 oz) dark chocolate (60 to 70% cacao) chopped or in chips: The bittersweet notes create the perfect base and higher cacao means less sugar while still providing that luxurious melt in your mouth texture we all want from chocolate bark.
- 150 g (5 oz) white chocolate chopped or in chips: White chocolate contains cocoa butter which melts beautifully and creates those gorgeous marble veins that make this look like something from a chocolate boutique.
- 1/2 tsp peppermint extract: A tiny amount packs a big punch so start with less if you are sensitive to mint flavors the alcohol in extract also helps the chocolate temper slightly better.
- 2 tbsp crushed peppermint candies or candy canes: These add that festive crunch and extra pop of peppermint flavor plus little flecks of red color that make the final presentation absolutely stunning.
Instructions
- Prepare your workspace:
- Line a baking sheet approximately 23x33 cm (9x13 in) with parchment paper ensuring the paper covers the entire surface and slightly up the sides to prevent any chocolate from escaping.
- Melt the dark chocolate base:
- Place the dark chocolate in a heatproof bowl over a pot of barely simmering water stirring frequently until completely smooth and glossy or microwave in 30 second intervals stirring between each burst.
- Infuse the mint flavor:
- Remove the melted dark chocolate from heat and immediately stir in the peppermint extract until fully incorporated making sure to scrape the sides of the bowl to evenly distribute the flavor.
- Create the foundation layer:
- Pour the minted dark chocolate onto your prepared baking sheet and use an offset spatula or the back of a spoon to spread it into an even layer about 0.5 cm (1/4 in) thick.
- Prepare the white chocolate:
- Melt the white chocolate using the same double boiler method being extra careful because white chocolate scorches more easily than dark chocolate and can seize if overheated.
- Add the marble effect:
- Drop spoonfuls of melted white chocolate randomly across the dark chocolate base then immediately use a skewer or toothpick to swirl through both chocolates creating those beautiful marble patterns.
- Sprinkle the finishing touch:
- While the chocolate is still soft scatter crushed peppermint candies evenly over the surface pressing them gently into the chocolate so they adhere as it sets.
- Set completely:
- Refrigerate the bark for about 45 minutes until completely firm then break into irregular pieces by hand or use a sharp knife for cleaner edges.
 Pin This
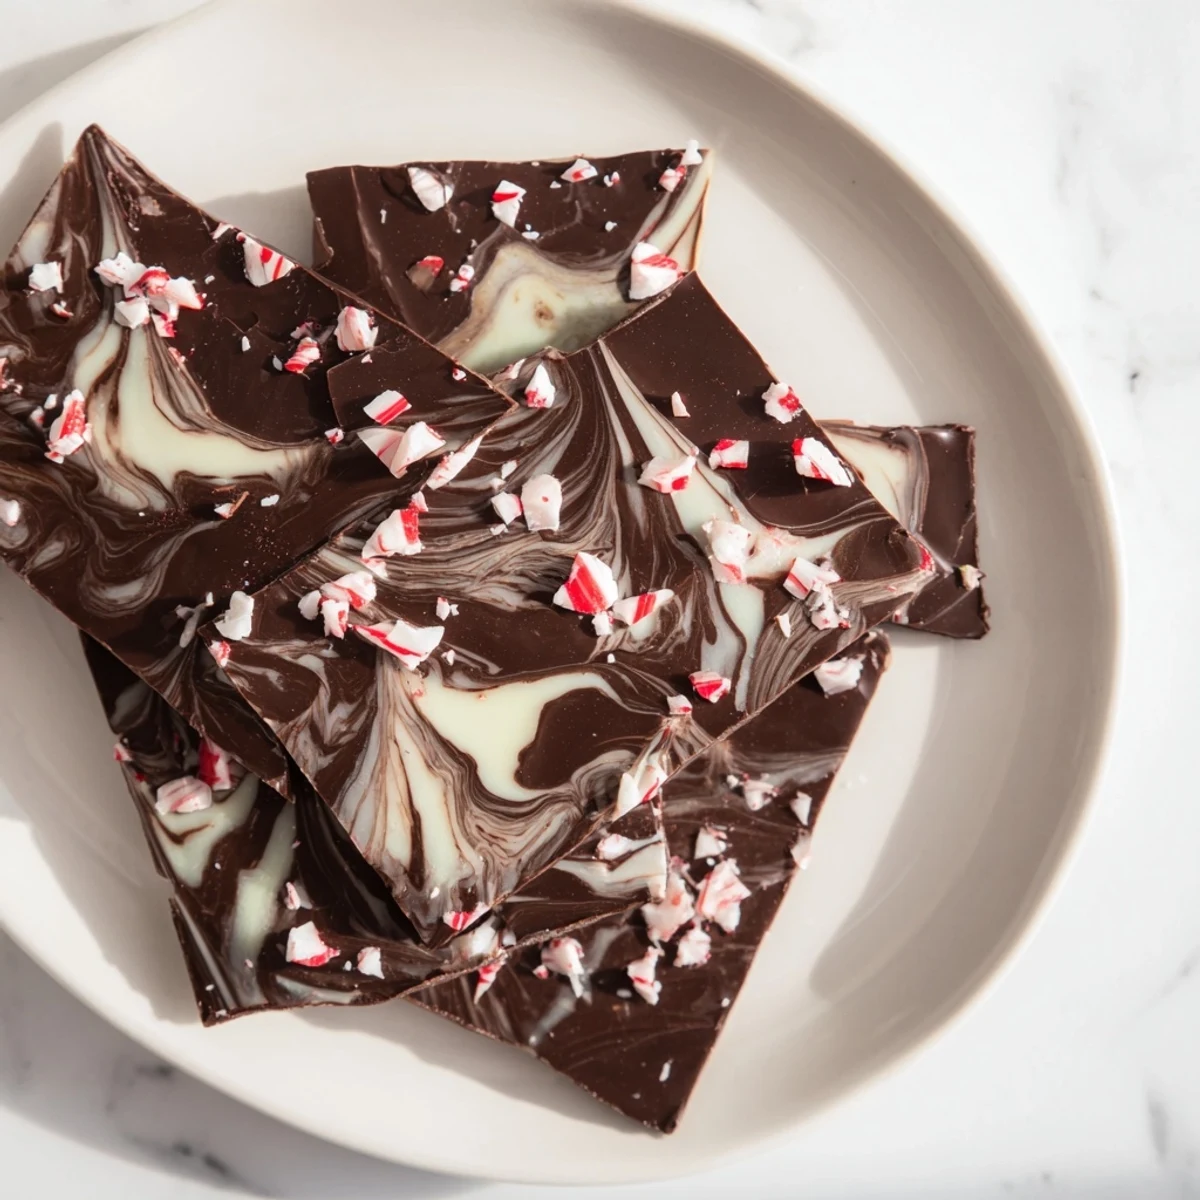
 The first time I attempted the marble effect I panicked that the swirls looked messy and imperfect but once it hardened those irregular patterns became the most beautiful part of the bark. Now I actually prefer when the marbling looks artistic rather than perfectly symmetrical because it proves this was made by hand not a machine.
Making It Your Own
While the classic version is absolutely stunning there are endless variations depending on the season or your taste preferences. I have made this with milk chocolate instead of dark for a sweeter version and added crushed pretzels for a salty crunch combination that everyone loved.
Storage Secrets
Proper storage makes the difference between bark that stays fresh for weeks and chocolate that develops that unappealing white bloom. I keep mine in an airtight container between layers of wax paper in a cool dark pantry though the refrigerator works too if you prefer that snap when you bite into it.
Presentation Ideas
This bark makes an incredibly thoughtful gift when packaged with care. I like stacking pieces in clear cellophane bags tied with baker twine or arranging them in a pretty tin lined with wax paper. The key is keeping the pieces relatively uniform in size so the presentation looks intentional rather than just broken bits.
- Package within a week of making for optimal freshness
- Include a small note about storage recommendations
- Label with the flavor especially if giving to someone with dietary restrictions
 Pin This
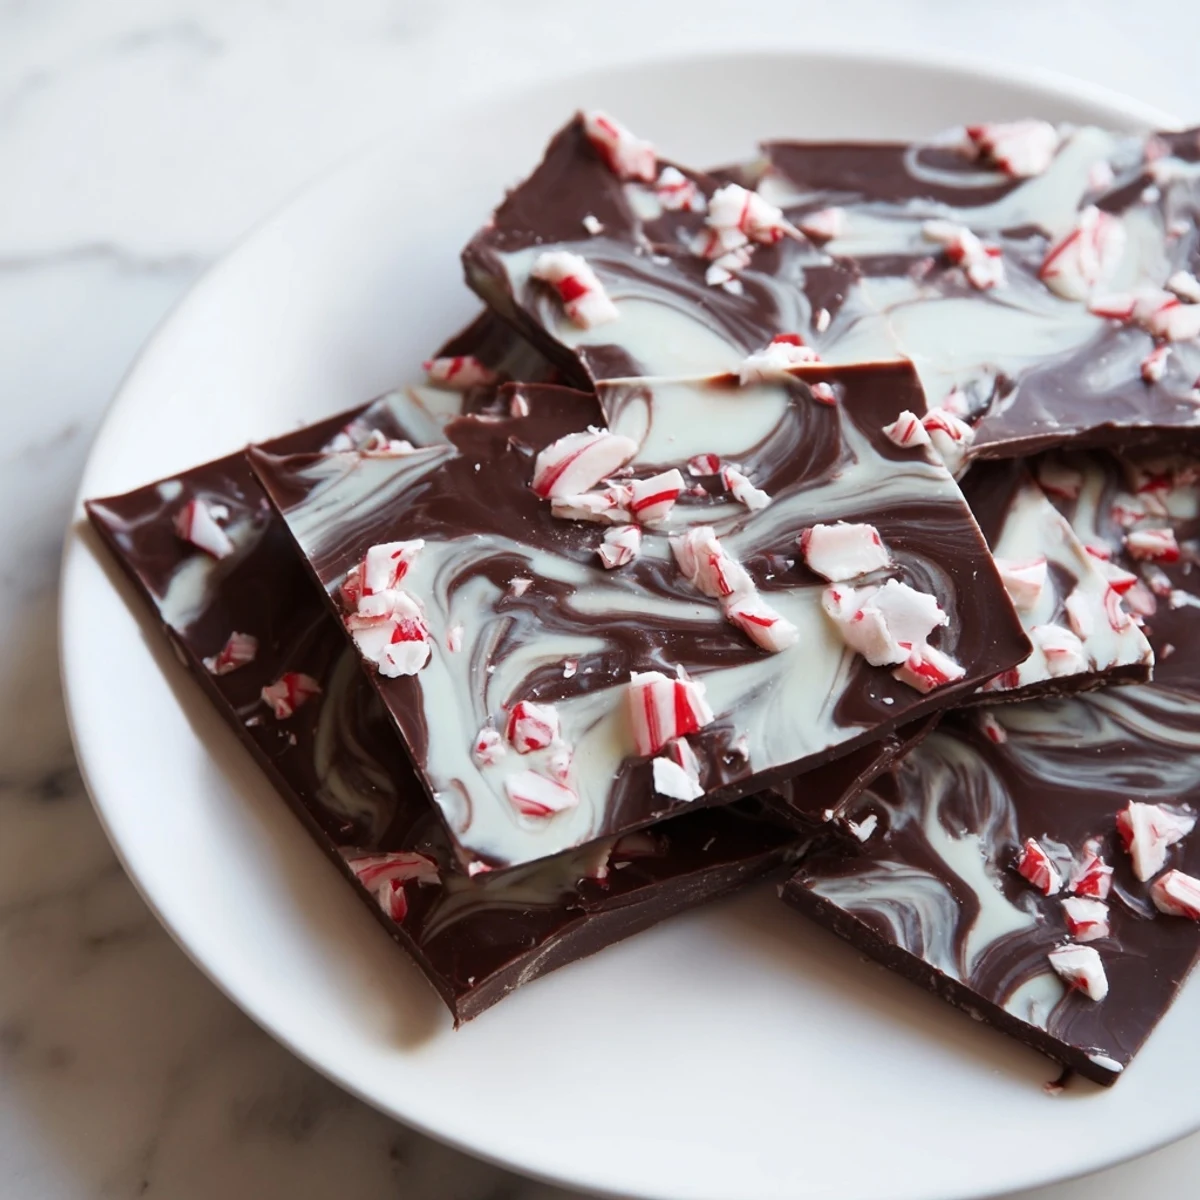
 Every time I break into a fresh batch I am reminded that sometimes the most impressive desserts are the ones that let quality ingredients shine without any complicated techniques. Happy chocolate making.
Recipe FAQs
- → How do I create the white chocolate swirls?
-
After spreading the melted dark chocolate, drop spoonfuls of melted white chocolate randomly over the surface. Use a skewer or toothpick to gently swirl the white chocolate into the dark base, creating a marbled effect.
- → What is the best way to melt the chocolate?
-
Use a double boiler method by placing a heatproof bowl over simmering water, stirring gently until smooth. Alternatively, melt in short microwave intervals, stirring frequently to avoid overheating.
- → Can I substitute the dark chocolate with milk chocolate?
-
Yes, part or all of the dark chocolate can be replaced with milk chocolate for a sweeter, creamier variation, though it will slightly alter the flavor profile.
- → How long should the bark chill before breaking?
-
Refrigerate for about 45 minutes or until the bark is completely firm. This ensures clean breaks into pieces without melting or sticking.
- → Are there any allergen considerations to keep in mind?
-
The chocolates may contain milk and soy. If using optional toppings like nuts, check labels carefully for allergy concerns.
- → What toppings can enhance the bark?
-
Crushed peppermint candies add refreshing crunch, while chopped roasted nuts or freeze-dried raspberries offer pleasant texture and flavor contrast.