
 Pin This
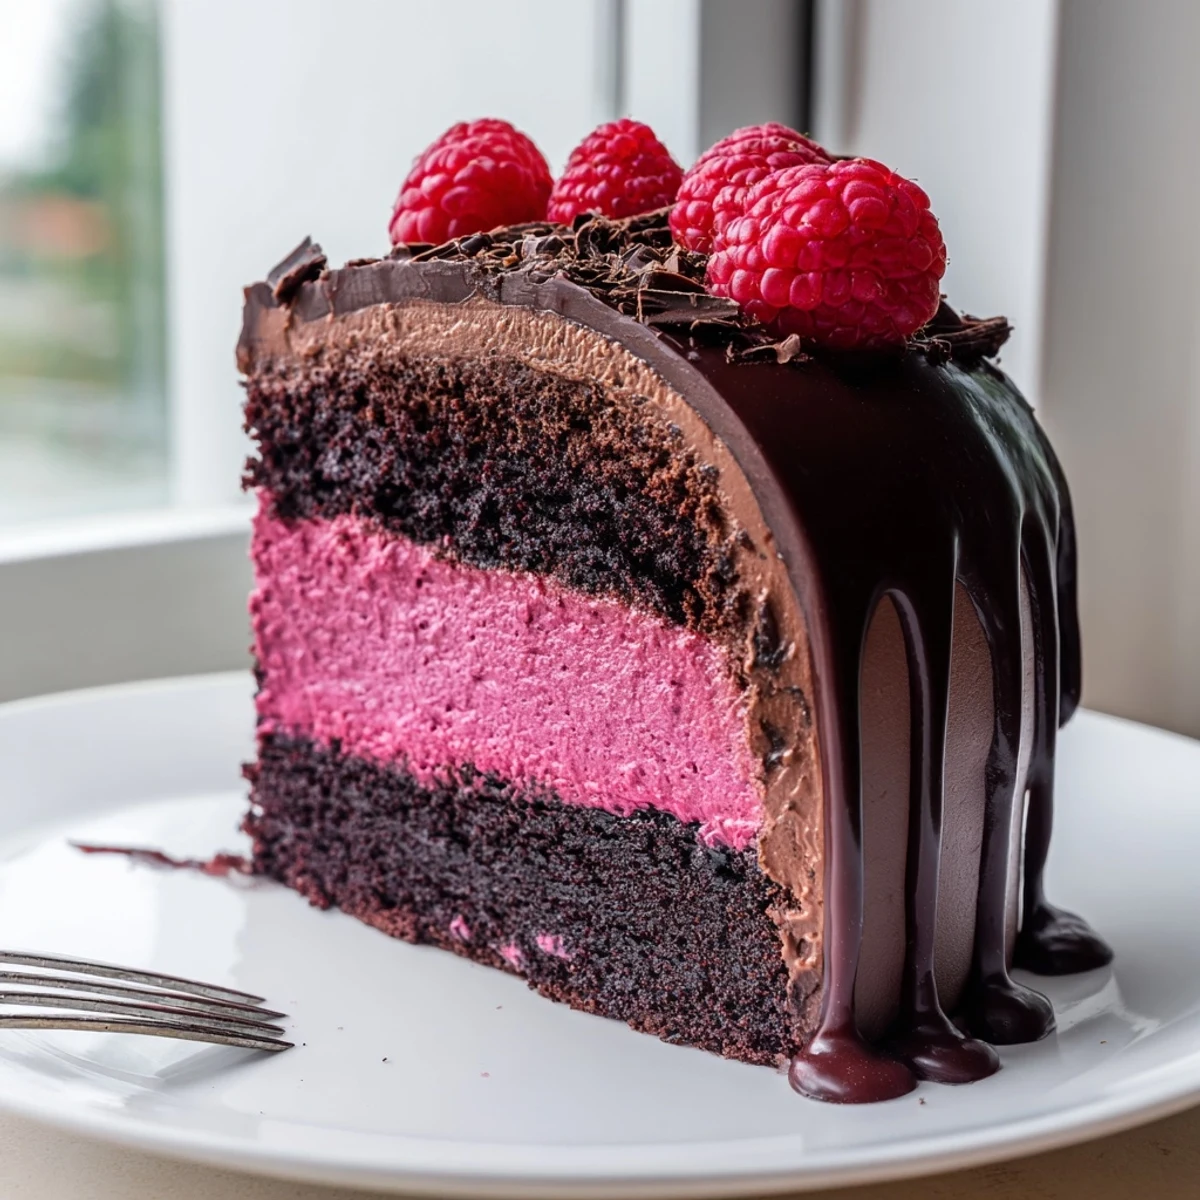
 This showstopping raspberry chocolate mousse cake brings together three irresistible layers: a tender chocolate sponge, a tangy raspberry filling, and a cloud-like dark chocolate mousse.
Finished with a mirror-smooth ganache and crowned with fresh berries, it's a French-inspired dessert that's as beautiful to present as it is satisfying to eat.
Allow time for chilling and setting — the overnight rest is well worth the wait for clean, elegant slices.
The kitchen smelled like a French patisserie had collided with a summer berry patch, and honestly, I was not mad about it. I had volunteered to make dessert for my friend Elenas birthday dinner, something ambitious enough to impress but not so fussy that I would be sweating through my shirt at the table. This raspberry chocolate mousse cake answered that call perfectly, landing somewhere between elegant and deeply comforting. It was one of those rare baking projects where every layer turned out exactly as I had imagined.
Elena walked into the kitchen just as I was pouring the ganache over the chilled mousse, and she stood there watching it cascade down the sides in complete silence. She told me later that she almost did not want to cut into it, but the slice she took was bigger than anyone elses, so I think she got over it pretty fast.
Ingredients
- All-purpose flour (120 g): Gives the thin cake base just enough structure to hold everything without becoming dense or bready.
- Unsweetened cocoa powder (40 g): Use a good quality one here because this is the backbone of the chocolate flavor throughout the entire cake.
- Baking powder (1 tsp) and salt (1/4 tsp): Standard leavening and a pinch of salt to wake up the cocoa.
- Granulated sugar (120 g for cake, 3 tbsp for mousse, 3 tbsp for raspberries): Each portion is measured for its specific layer, so do not try to consolidate them.
- Large eggs (5 total, separated for mousse, whole for cake): Fresh eggs make a real difference in the mousse, where the whites give it that cloud like lift.
- Vegetable oil (60 ml): Keeps the cake layer tender and moist even after chilling overnight.
- Whole milk (120 ml) and vanilla extract (1 tsp): Rounded out liquids for the cake base that complement the cocoa beautifully.
- Dark chocolate 60 to 70% cocoa (300 g total): The star player for both the mousse and the ganache, so choose a bar you would happily eat on its own.
- Heavy cream (350 ml total): Cold and fresh for whipping into the mousse and gently heating for the ganache.
- Fresh raspberries (250 g plus extra for garnish): The tart layer that cuts through all that richness and makes the cake feel balanced rather than heavy.
- Lemon juice (1 tbsp): Brightens the raspberry layer and helps set the color to that gorgeous jewel tone.
- Powdered gelatin (5 g): Bloomed in cold water first, this is what keeps the raspberry layer sliceable instead of a runny mess.
Instructions
- Bake the chocolate base:
- Preheat your oven to 175 degrees Celsius, grease a 23 cm springform pan, and line the base with parchment. Sift the flour, cocoa, baking powder, and salt together, then whisk in the sugar, eggs, oil, milk, and vanilla until smooth, pour it in, and bake for 20 to 25 minutes until the center is just set.
- Cool the cake completely:
- Let the cake cool right in the pan on a wire rack, because you will build the rest of the dessert directly on top of it.
- Make the raspberry layer:
- Soften the gelatin in cold water for five minutes while you heat the raspberries, sugar, and lemon juice in a saucepan, mashing the berries as they simmer for five to eight minutes. Off the heat, stir in the gelatin until fully dissolved and let it cool to room temperature.
- Whip up the chocolate mousse:
- Melt the chocolate gently over a water bath or in short microwave bursts, then let it cool slightly before stirring in the yolks. Beat the egg whites with salt to soft peaks, add sugar, and whip to stiff peaks, then whip the cream separately before folding everything together with a light hand.
- Build the layers:
- Spread the raspberry mixture evenly over the cooled cake base and chill for fifteen minutes until slightly tacky, then gently spread the mousse on top, smoothing it out, and refrigerate for at least two hours or overnight.
- Finish with ganache and garnish:
- Heat the cream until steaming, pour it over the chopped chocolate, wait two minutes, then stir until glossy and pour it over the chilled cake. Chill another thirty minutes, then remove the springform ring, decorate with fresh berries and chocolate shavings, and slice with a hot knife.
 Pin This
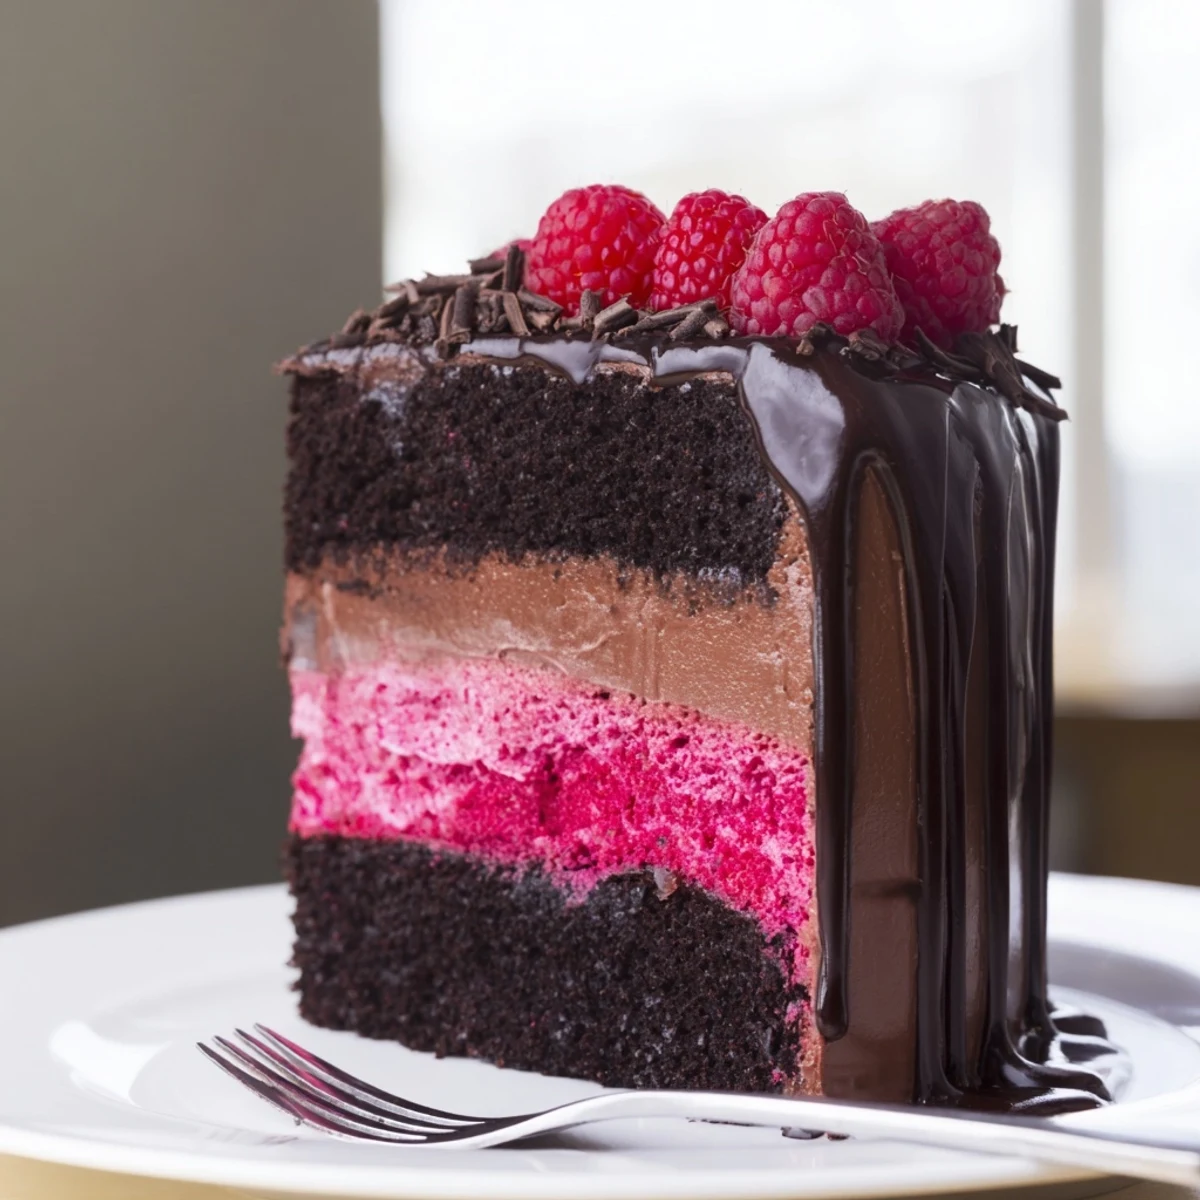
 The moment I lifted the springform ring and saw those three clean, distinct layers staring back at me, I actually clapped out loud, which felt ridiculous until my partner walked in and did the exact same thing.
Tools That Make This Easier
A springform pan is genuinely non-negotiable here, because you will never get a clean release from a regular cake tin without destroying the mousse layer. An electric mixer saves your arm on the egg whites, though I have done it by hand when my mixer broke and it still worked, just with more determination and a sore wrist.
Storing and Serving
This cake actually improves after a night in the fridge, as the layers settle into each other and the flavors deepen, making it a perfect make ahead dessert for a dinner party. Cover it gently with foil or a cake dome, and it will keep beautifully for up to three days, though in my experience it never lasts that long.
Making It Your Own
You can swap the raspberries for almost any tart fruit, and I once made a stunning version with passion fruit that had everyone asking for the recipe. If you need a gluten free option, a one to one baking blend works perfectly in the cake base.
- Try adding a tablespoon of raspberry liqueur to the fruit layer for an adult twist that deepens the flavor beautifully.
- Chocolate shavings are easiest made by running a vegetable peeler along the flat side of a chocolate bar straight from the fridge.
- Always slice with a knife dipped in hot water and wiped clean between cuts for those picture perfect servings.
 Pin This
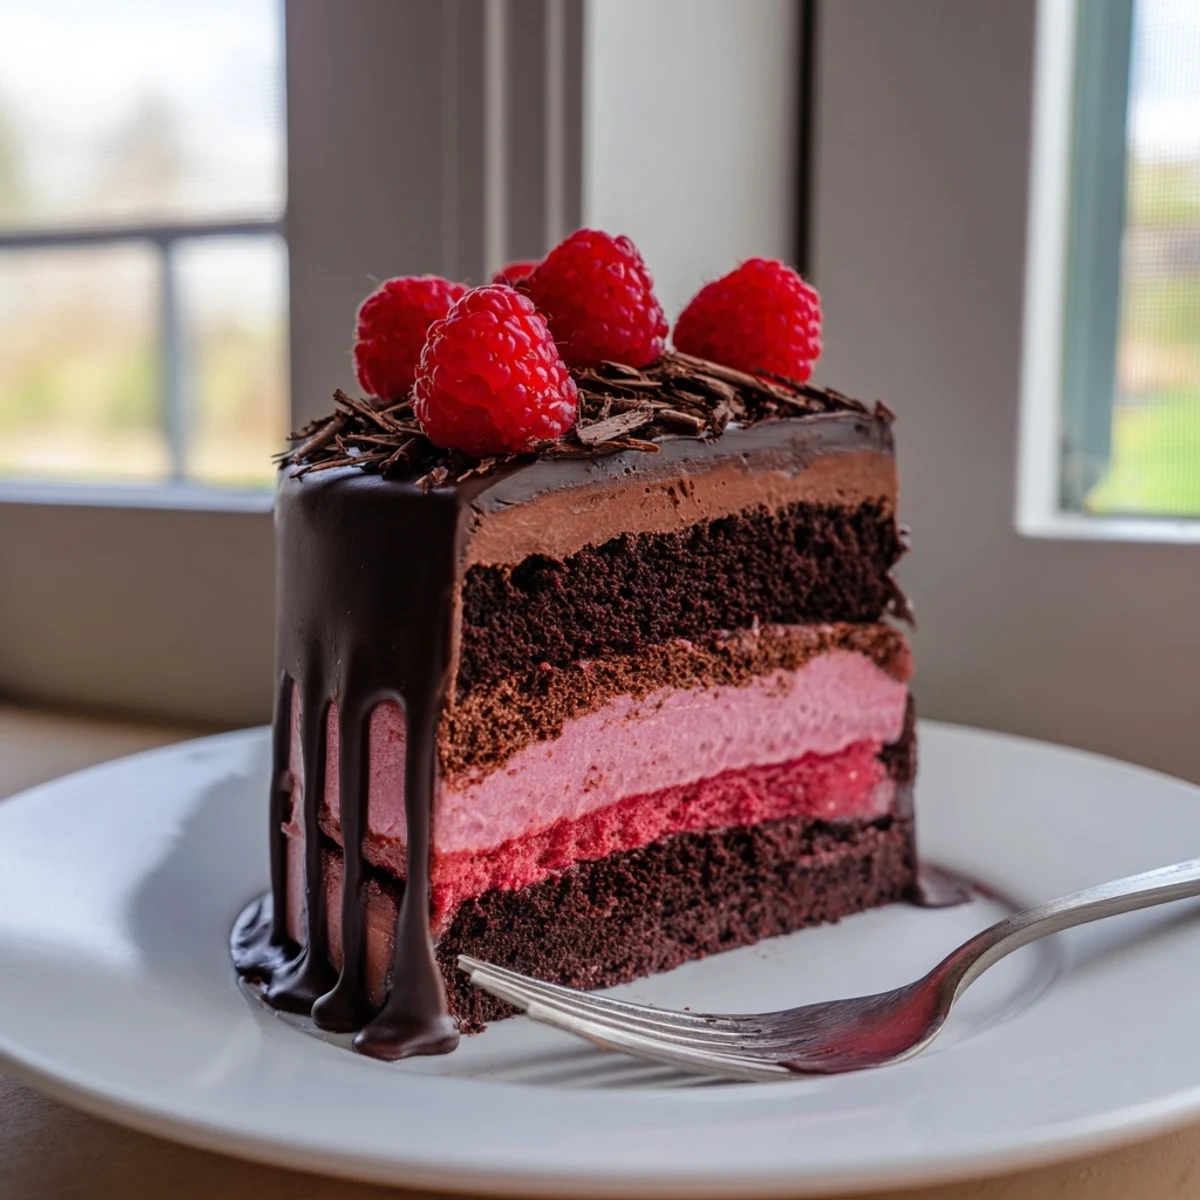
 Some desserts are just dessert, but this one feels like a celebration all on its own, a quiet little showstopper that turns any ordinary evening into something worth remembering.
Recipe FAQs
- → Can I make this cake ahead of time?
-
Yes, this cake actually benefits from being made a day in advance. The layers set beautifully overnight in the refrigerator, and the flavors meld together for a richer taste. Keep it chilled until about 15 minutes before serving.
- → Can I use frozen raspberries instead of fresh?
-
Absolutely. Frozen raspberries work perfectly fine for the raspberry layer — simply thaw them slightly and proceed with the same cooking steps. For the decorative garnish on top, fresh raspberries will give the best visual result.
- → How do I get clean slices when cutting the cake?
-
Use a sharp knife dipped in hot water and wiped dry between each cut. The warmth helps the blade glide smoothly through the mousse and ganache layers without dragging, giving you neat, professional-looking portions.
- → Is there a substitute for gelatin in the raspberry layer?
-
Agar-agar is the most common substitute for powdered gelatin. Use roughly half the amount by weight (about 2.5 g of agar-agar powder) and make sure to bring the raspberry mixture to a full boil for 1–2 minutes so the agar-agar activates properly.
- → What percentage of dark chocolate should I use?
-
A dark chocolate between 60% and 70% cocoa is ideal. This range offers enough sweetness to balance the tart raspberry layer while delivering a deep, rich chocolate flavor. Avoid going above 75%, as it can make the mousse too bitter.
- → Can I make this gluten-free?
-
Yes, simply swap the all-purpose flour in the chocolate sponge for a gluten-free flour blend designed for baking. Everything else in the mousse, raspberry layer, and ganache is naturally gluten-free.