 Pin This
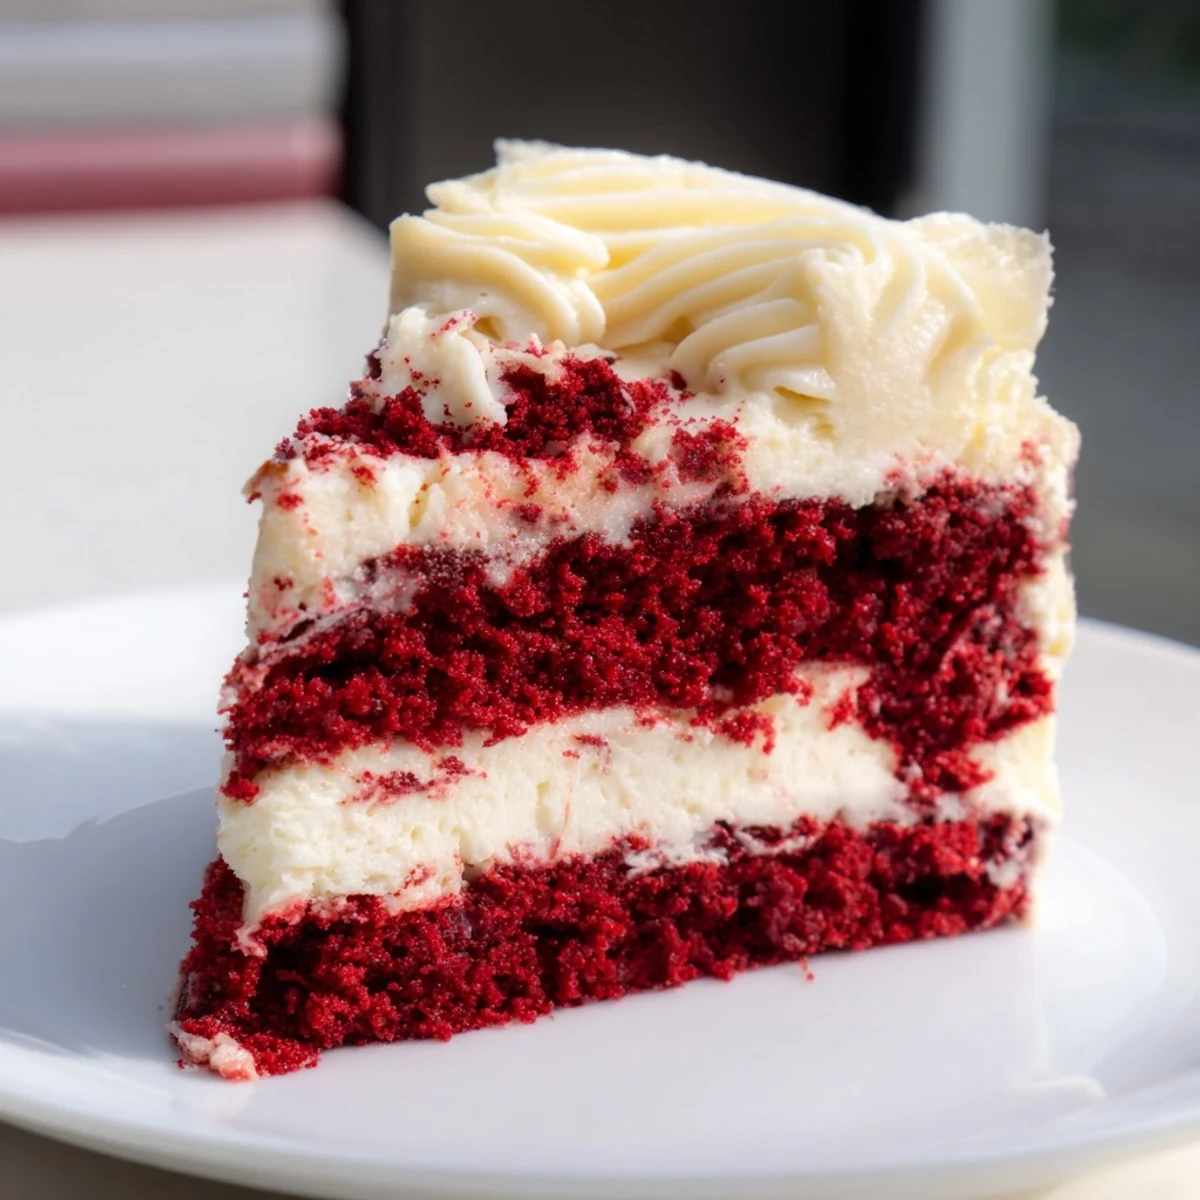
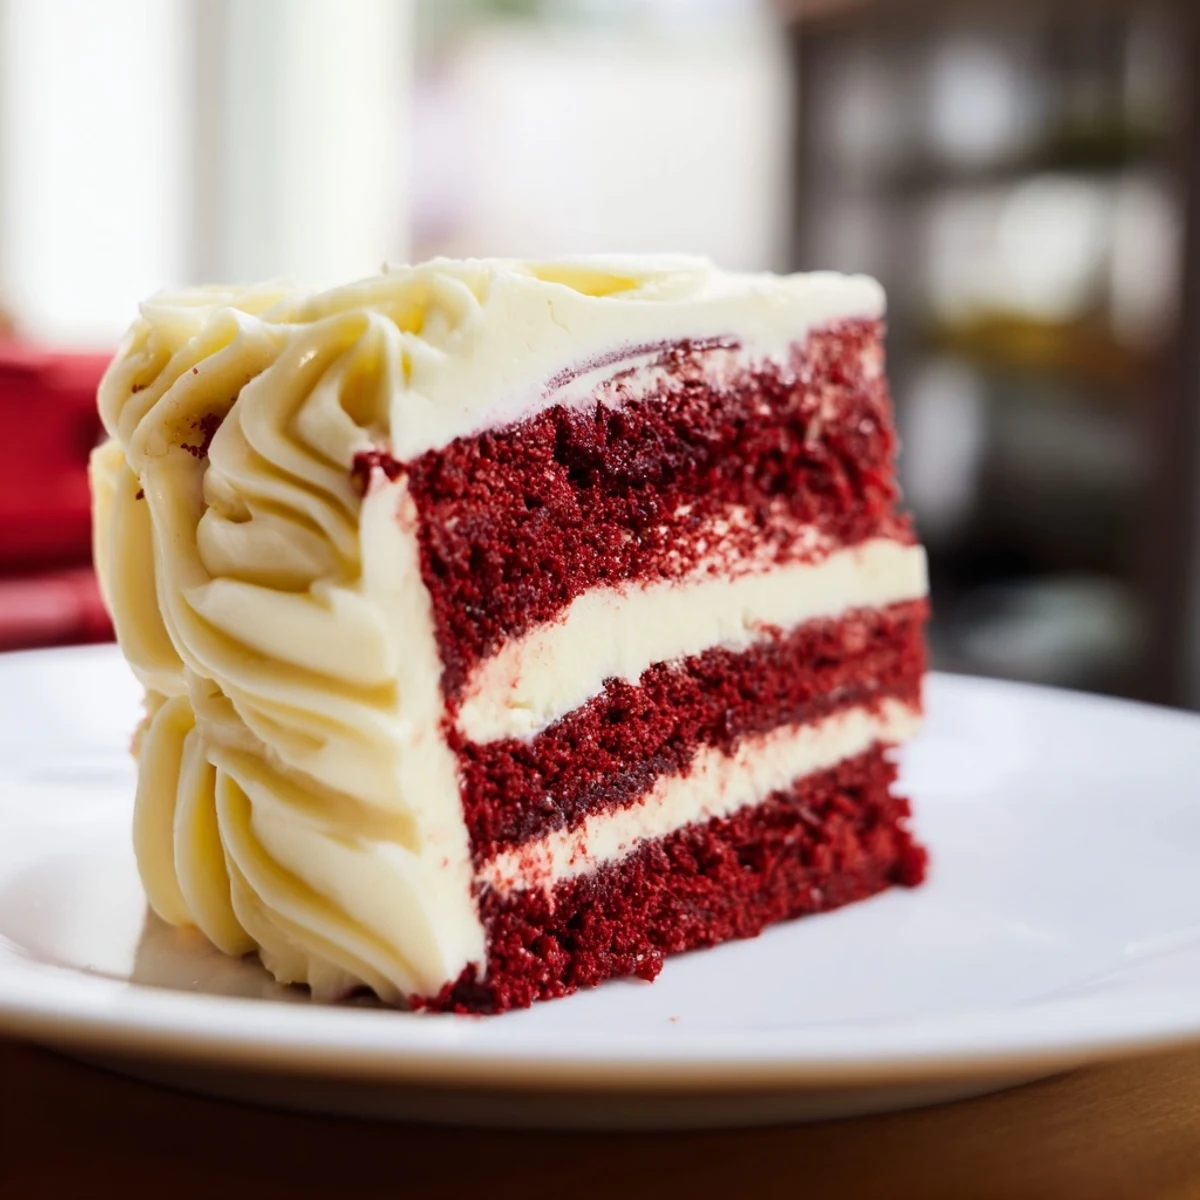
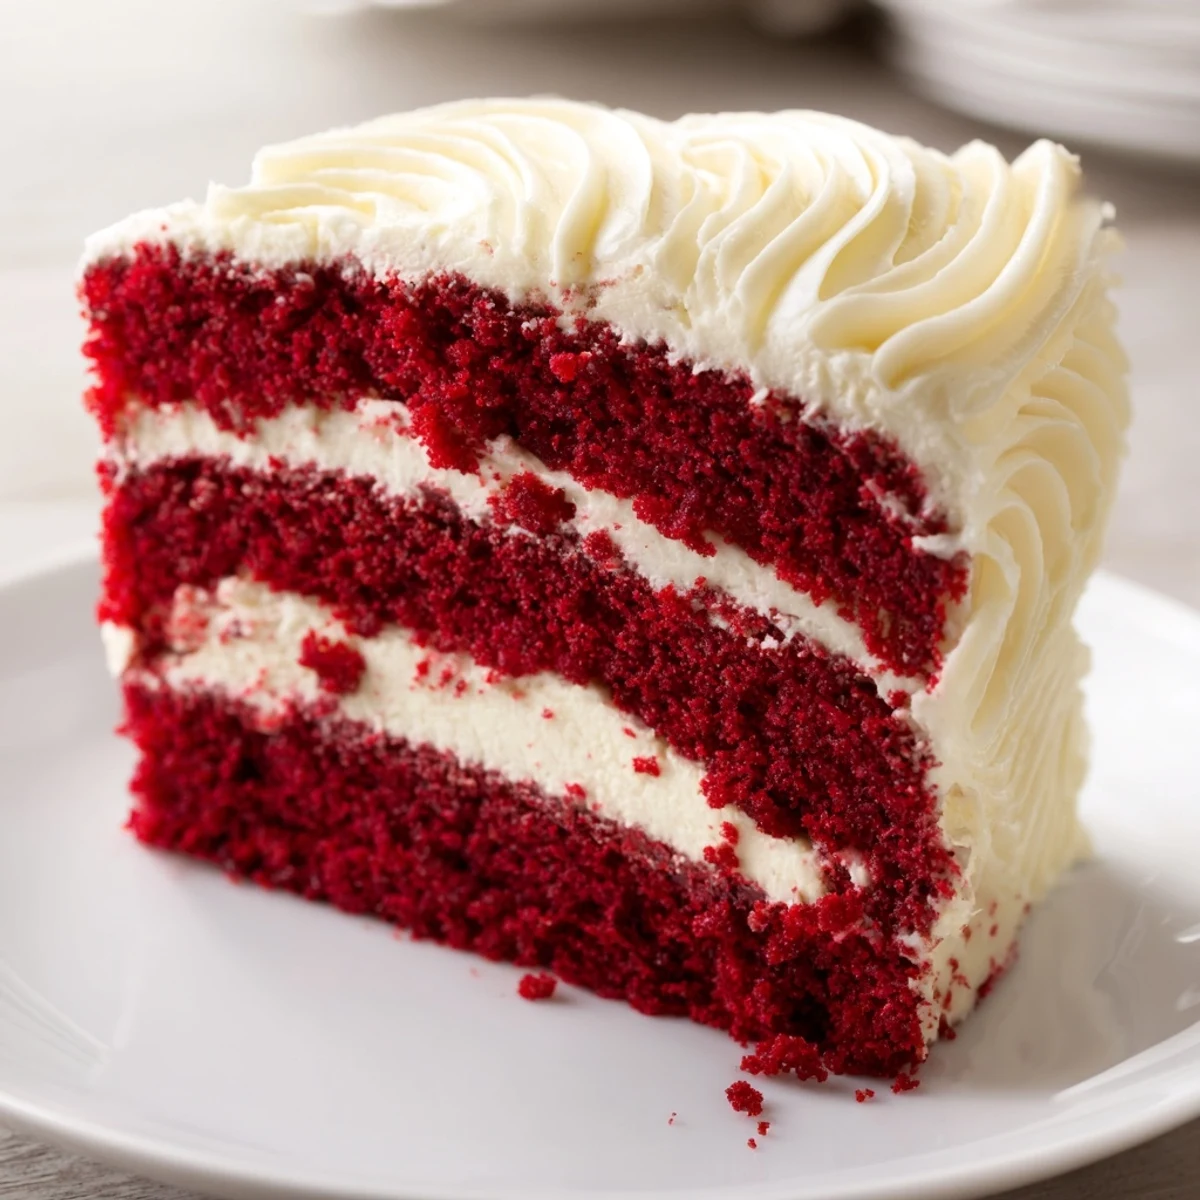
 This dessert features a moist red velvet base combined seamlessly with a smooth and creamy cheesecake layer. Baked in stages to perfect texture, it’s chilled overnight for ideal set and topped optionally with a velvety cream cheese frosting. The harmonious mix of cocoa, buttermilk, and cream cheese offers a rich, indulgent experience. Ideal for celebrations and gatherings, it pairs wonderfully with sweet dessert wine or coffee.
My sister's wedding reception was the first time I encountered this showstopper of a dessert. The catering staff brought out these stunning crimson slices with snowy white swirls on top, and I honestly thought it was some fancy bakery creation until I learned the bride herself had spent three days perfecting the recipe. Now whenever I make it for dinner parties, I watch guests' faces light up when they cut into that dramatic red and white swirl.
Last Valentine's Day, I attempted this for my husband and learned the hard way that patience really is the secret ingredient. I rushed the chilling process and ended up serving slightly wobbly slices that still tasted incredible but looked more like a beautiful mistake than the masterpiece I'd envisioned. He didn't care one bit, but I've since learned that good things truly come to those who wait.
Ingredients
- 1 cup all-purpose flour: Provides structure to the red velvet layer without making it heavy or dry
- 1/2 cup granulated sugar: Just enough sweetness to balance the tangy buttermilk and cocoa
- 1/4 cup vegetable oil: Keeps the cake layer incredibly moist while creating a tender crumb
- 1/4 cup buttermilk: The essential ingredient that gives red velvet its signature subtle tang and velvety texture
- 1 large egg: Binds everything together while adding richness and structure
- 1 tbsp unsweetened cocoa powder: Provides that classic chocolate undertone without overpowering the delicate velvet flavor
- 1/2 tsp baking soda: Helps the cake layer rise properly for that light, fluffy texture
- 1/2 tsp white vinegar: Reacts with the buttermilk and baking soda for extra tenderness
- 1/2 tsp vanilla extract: Enhances and rounds out all the flavors
- 1/4 tsp salt: Balances sweetness and intensifies the chocolate notes
- 1 tbsp red food coloring: Creates that iconic dramatic crimson hue
- 24 oz cream cheese: The star of the cheesecake layer, make sure it's properly softened for silky smooth results
- 3/4 cup granulated sugar: Sweetens the cheesecake without masking the cream cheese flavor
- 3 large eggs: Essential for structure and richness, always at room temperature
- 1/2 cup sour cream: Adds tanginess and creates that incredibly creamy texture
- 1 tsp vanilla extract: Pure vanilla makes all the difference in the cheesecake layer
- 2 tbsp all-purpose flour: Stabilizes the cheesecake filling to prevent cracking
- 4 oz cream cheese: For the frosting, room temperature is non-negotiable
- 2 tbsp unsalted butter: Creates a luscious, pipeable frosting consistency
- 1 cup powdered sugar: Sifting prevents lumps and ensures silky smooth frosting
- 1/2 tsp vanilla extract: The finishing touch that makes the frosting sing
Instructions
- Prepare your oven and pan:
- Preheat to 325°F and generously grease a 9-inch springform pan, lining the bottom with parchment for easy release later
- Mix the dry cake ingredients:
- Whisk flour, cocoa powder, baking soda, and salt in a medium bowl until well combined
- Combine wet cake ingredients:
- Beat sugar, oil, and egg until light and fluffy, then mix in buttermilk, vinegar, vanilla, and food coloring
- Make the red velvet batter:
- Gradually add dry ingredients to wet, mixing until just combined but be careful not to overmix
- Bake the cake layer:
- Spread batter in prepared pan and bake for 15 minutes until set but still slightly underdone in center
- Prepare cheesecake batter:
- Beat softened cream cheese and sugar until completely smooth, then add eggs one at a time
- Complete cheesecake filling:
- Mix in sour cream, vanilla, and flour until just combined, taking care not to incorporate excess air
- Layer and bake:
- Pour cheesecake batter over partially baked cake, smooth top, and bake for 1 hour 5 minutes until center is just set with a slight wobble
- Cool gradually:
- Turn off oven, crack door, and let cheesecake cool inside for 1 hour before removing to cool completely
- Chill thoroughly:
- Refrigerate at least 6 hours or overnight for the cleanest slices and best texture
- Make optional frosting:
- Beat cream cheese and butter until fluffy, then add powdered sugar and vanilla until smooth
- Finish and serve:
- Release from pan, frost if desired, and slice with a clean knife dipped in hot water
 Pin This
 This recipe has become my go-to for celebrations because it transforms any ordinary gathering into something that feels genuinely special. There's something magical about watching someone's expression change from curiosity to pure delight when they take that first bite of creamy, chocolatey perfection.
The Science Behind The Swirl
The magic happens because the partially baked cake layer creates a stable foundation that supports the weight of the cheesecake batter. If both layers were raw, they would mix together and you would lose that gorgeous distinction between fluffy red velvet and silky cheesecake. That initial bake also gives the cake layer just enough structure to prevent the cheesecake from sinking through to the bottom.
Mastering The Water Bath Alternative
While the recipe bakes without a water bath, placing your springform pan inside a larger roasting pan filled with hot water creates even more gentle, even heat. This method practically guarantees a crack-free surface and an impossibly creamy texture throughout. The steam from the water bath keeps the air inside the oven moist, preventing the surface from drying out and forming those dreaded cracks.
Storage And Make Ahead Magic
This cheesecake actually improves with time, making it perfect for preparing a day or two before your event. The flavors meld together and the texture becomes even more luxurious after resting in the refrigerator. Wrap it tightly in plastic wrap once completely chilled and it will stay fresh for up to 5 days.
- Freeze individual slices for instant dessert cravings
- Add the whipped cream topping right before serving for the freshest presentation
- Bring slices to room temperature for 15 minutes before serving for optimal flavor
 Pin This
 Every time I serve this, someone asks for the recipe, and I love sharing it because it makes ordinary home cooks feel like absolute pros in the kitchen.
Recipe FAQs
- → What makes the red velvet layer unique?
-
The red velvet layer balances cocoa powder, buttermilk, and vinegar to create a tender texture and subtle chocolate flavor with vibrant color.
- → How is the cheesecake layer prepared?
-
The cheesecake layer features softened cream cheese combined with sugar, eggs, sour cream, vanilla, and a touch of flour for structure and creamy smoothness.
- → Can the frosting be skipped or substituted?
-
Yes, the cream cheese frosting is optional and can be omitted or replaced with whipped cream or fresh fruit toppings.
- → How long should the dessert chill before serving?
-
Chill for at least 6 hours or overnight to ensure the layers set properly and flavors meld beautifully.
- → Are there any tips for baking this layered dessert?
-
Partially baking the red velvet layer before adding the cheesecake helps maintain defined layers and perfect texture throughout.