 Pin This
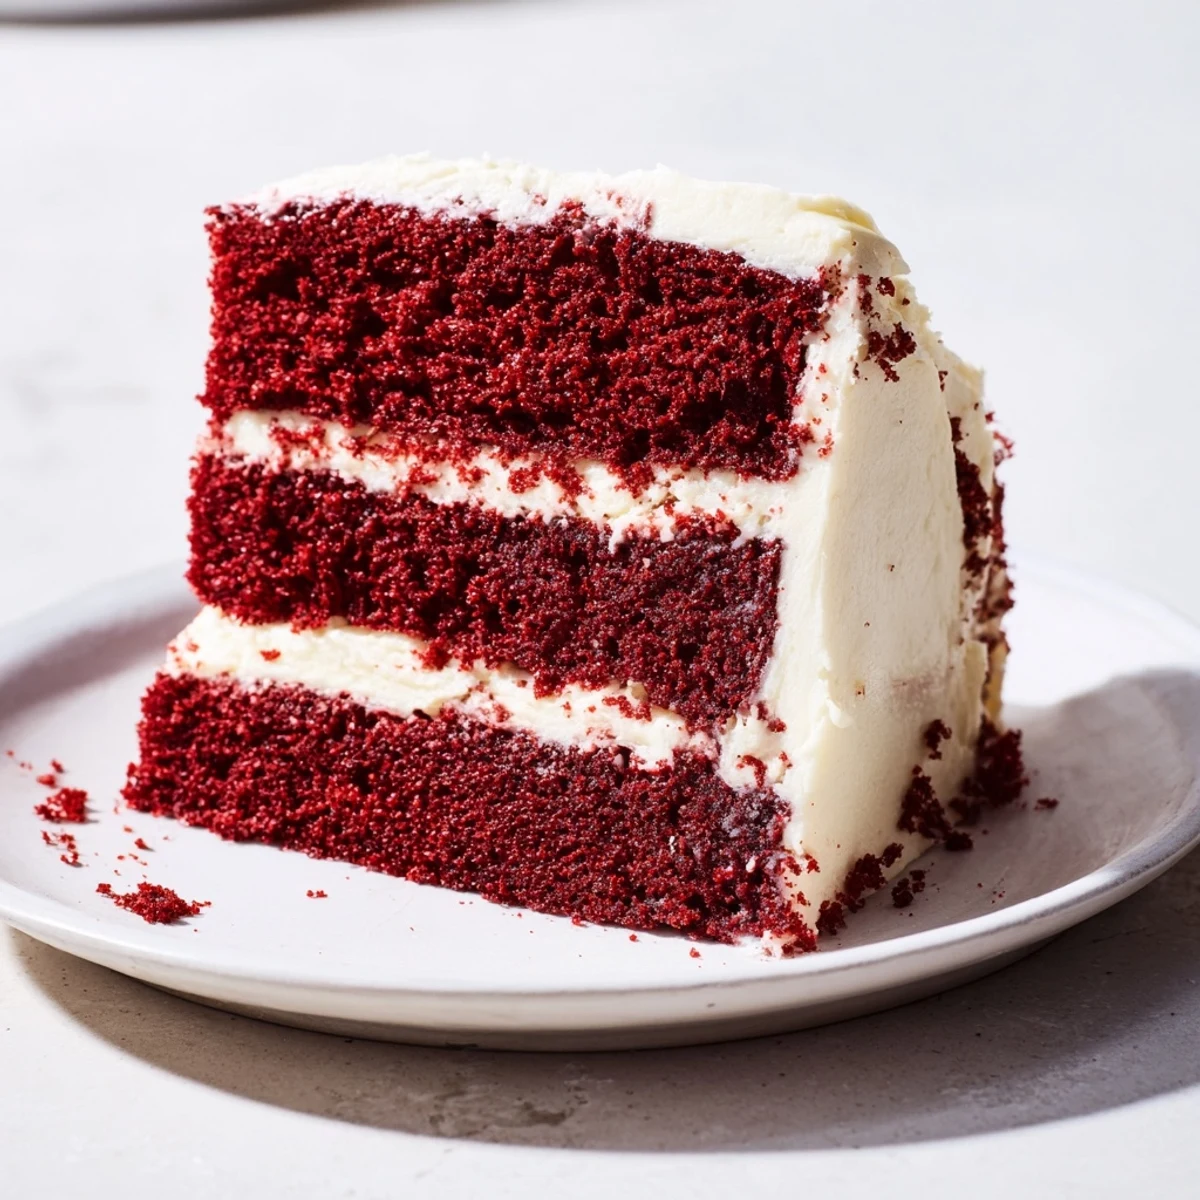
 This classic red velvet layer cake offers a moist texture with a subtle cocoa flavor, enhanced by its rich and tangy cream cheese frosting. Layers are carefully baked to perfection and cooled before being generously coated with a smooth, fluffy frosting. The combination of ingredients and technique creates a tender crumb and balanced sweetness, ideal for festive gatherings or as an indulgent dessert treat. Techniques like sifting dry ingredients and gently mixing wet to dry components help maintain a light, airy cake.
Chilling the frosted cake ensures clean layers when sliced, and optional garnishes like berries or chocolate shavings add a decorative touch. This cake fits well within vegetarian diets and requires common baking tools to prepare, making it approachable for bakers with intermediate experience.
My grandmother kept a secret stash of red food coloring in the back of her baking cabinet, claiming it was for 'special occasions only.' I never understood the allure until she finally let me help with the annual Valentine's Day cake, our hands stained pink from vigorous stirring and that distinct earthy cocoa scent filling the tiny kitchen.
I once made this for my roommate's birthday despite never having baked from scratch before. The cakes came out looking suspiciously brown instead of red, but she still talks about how the frosting saved the day and made our tiny apartment feel like a proper celebration.
Ingredients
- All-purpose flour: The foundation that gives this cake its tender crumb structure
- Granulated sugar: Sweetens while helping create that signature velvet texture
- Baking soda: Essential for the rise since theres buttermilk in the mix
- Fine salt: Balances the sweetness and enhances all the flavors
- Cocoa powder: Just enough to add depth without making it a chocolate cake
- Vegetable oil: Keeps things moist longer than butter would
- Buttermilk: The secret ingredient for tenderness and subtle tang
- Large eggs: Room temperature eggs blend more smoothly into the batter
- Red food coloring: Gel coloring gives that dramatic red hue we all expect
- Vanilla extract: Pure vanilla makes both cake and frosting taste complete
- Distilled white vinegar: Reacts with baking soda for extra lift and tenderness
- Cream cheese: Full fat and completely softened makes frosting luscious
- Unsalted butter: Room temperature so it creams perfectly with the cheese
- Powdered sugar: Sifting prevents lumpy frosting and ensures silkiness
Instructions
- Get your oven ready:
- Preheat to 350°F and prepare two 9-inch round pans with grease and parchment so nothing sticks later
- Mix the dry ingredients:
- Sift together the flour, sugar, baking soda, salt, and cocoa powder until everything is evenly distributed
- Whisk the wet mixture:
- Combine the oil, buttermilk, eggs, food coloring, vanilla, and vinegar until smooth and uniform
- Combine both:
- Gradually pour the wet ingredients into the dry ones and mix just until combined, resisting the urge to overmix
- Bake the layers:
- Divide batter between your prepared pans and bake for 28 to 32 minutes until a toothpick comes out clean
- Cool them down:
- Let the cakes rest in their pans for 10 minutes before turning them onto wire racks to cool completely
- Make the frosting:
- Beat the softened cream cheese and butter until creamy, add vanilla and salt, then gradually beat in sifted powdered sugar until fluffy
- Assemble the cake:
- Level the cooled layers if needed, place one on your serving plate, frost the top, add the second layer, and frost the entire cake
- Chill before serving:
- Refrigerate for at least 30 minutes to set the frosting for cleaner slices
 Pin This
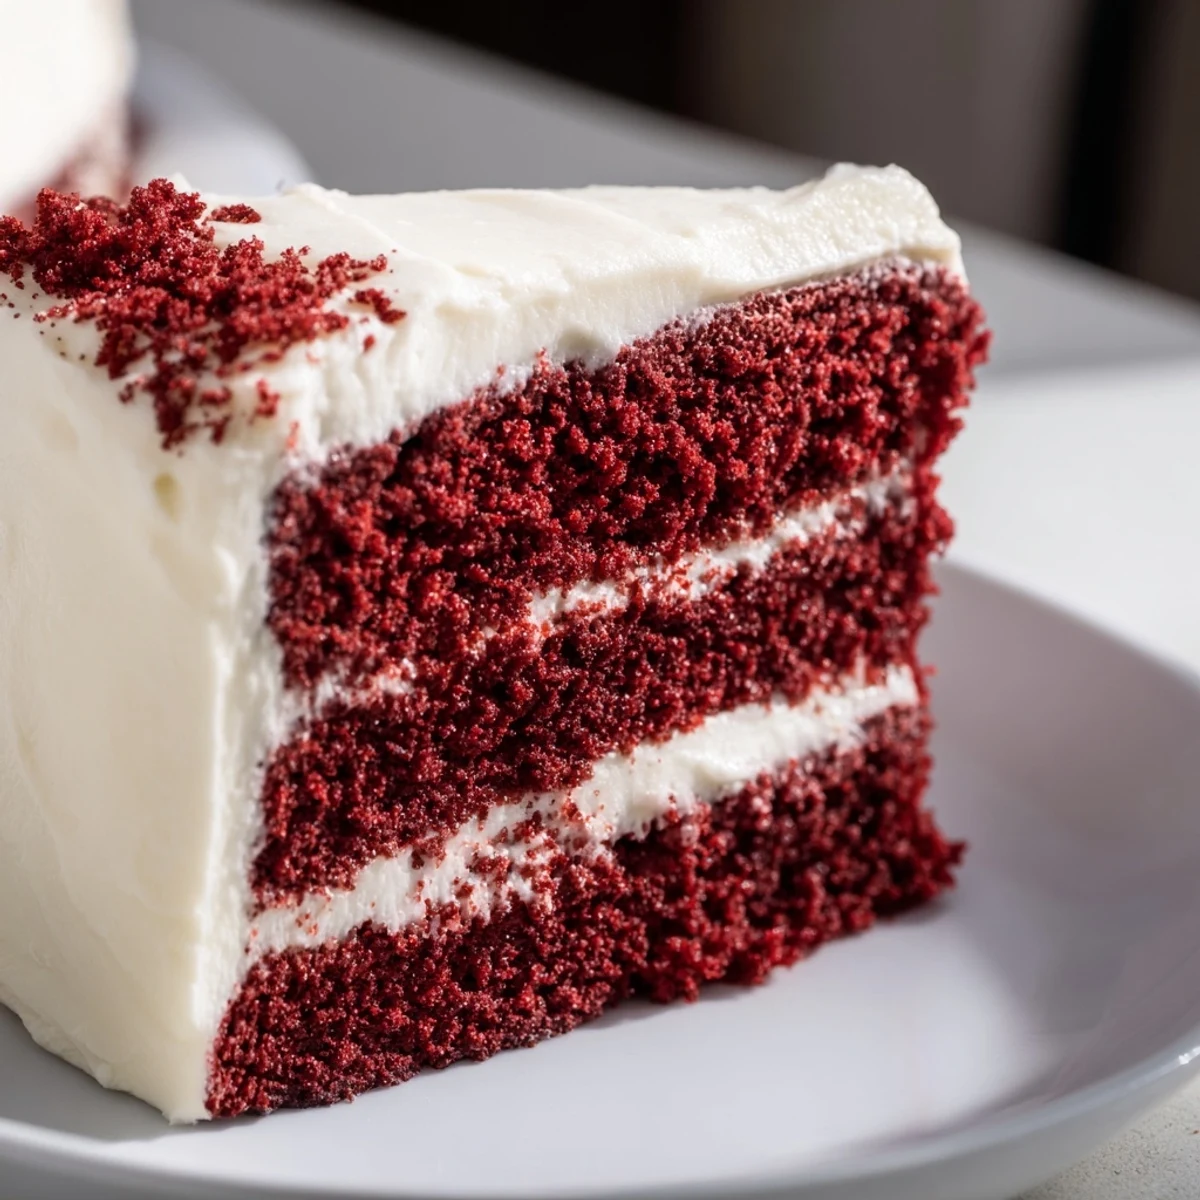
 This became my go-to celebration cake after serving it at a potluck where someone asked for the recipe before even finishing their first slice. Now whenever I bring it to gatherings, I'm always asked if I really made it from scratch, and that feels pretty good.
Making It Ahead
The unfrosted cake layers freeze beautifully wrapped tightly in plastic and foil for up to three months. Thaw them in the refrigerator overnight before frosting, and you have freshly baked texture without the same day effort.
Getting That Perfect Red Color
Liquid food coloring works, but gel coloring gives you that vibrant red with less liquid added to your batter. If using gel, start with a small amount and add more gradually since its much more concentrated than traditional coloring.
Frosting Like A Pro
Apply a thin crumb coat of frosting first to seal in any loose crumbs, then chill the cake for 15 minutes before adding your final layer. This trick keeps the outer frosting perfectly smooth and crumb free.
- Freeze your cake layers for 30 minutes before frosting for easier handling
- Run your offset spatula under hot water for perfectly smooth frosting surfaces
- Press chopped pecans or cake crumbs into the sides for a professional finish
 Pin This
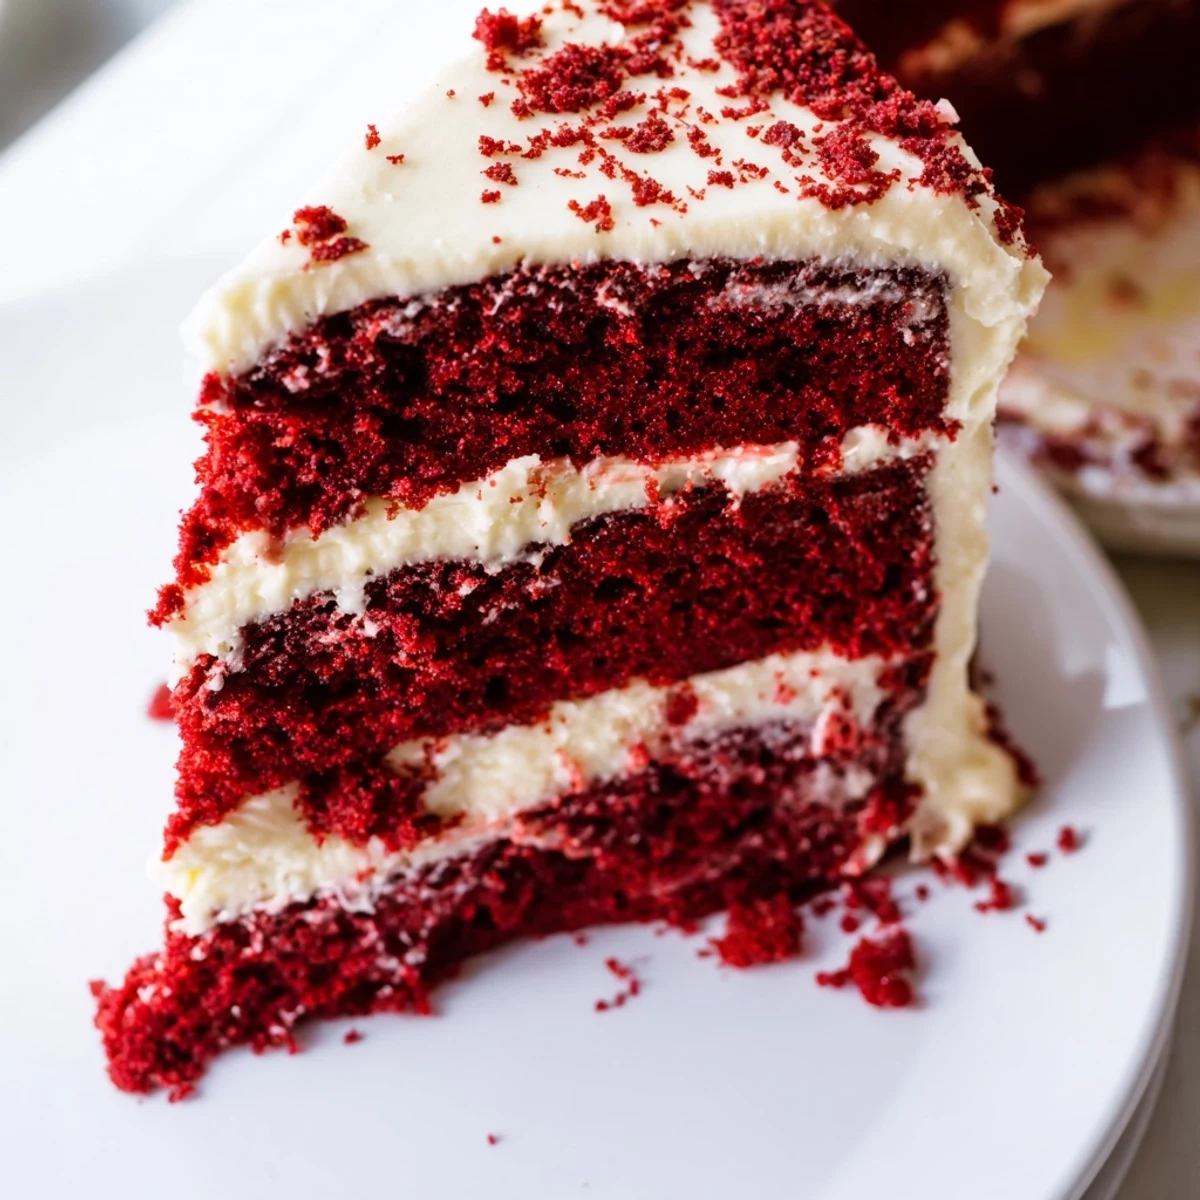
 Red velvet has a way of turning ordinary moments into celebrations, and that might be the real reason we keep making it year after year.
Recipe FAQs
- → How can I ensure the cake layers bake evenly?
-
Use parchment-lined pans and bake at the recommended temperature. Distribute batter evenly and avoid opening the oven door frequently to maintain consistent heat.
- → What gives the red velvet cake its distinctive color?
-
The vivid red color comes from the red food coloring, which can be intensified using gel-based versions for deeper hues.
- → How should the cream cheese frosting be prepared for best texture?
-
Beat softened cream cheese and butter until smooth before gradually adding powdered sugar to achieve a fluffy and spreadable consistency.
- → Can I make this cake ahead of time?
-
Yes, assemble and chill the cake for at least 30 minutes before slicing. Store leftovers refrigerated and bring to room temperature before serving.
- → What are useful tips for slicing clean cake layers?
-
Chilling the cake after frosting firms up the layers, allowing for cleaner, neater slices.