Pin This
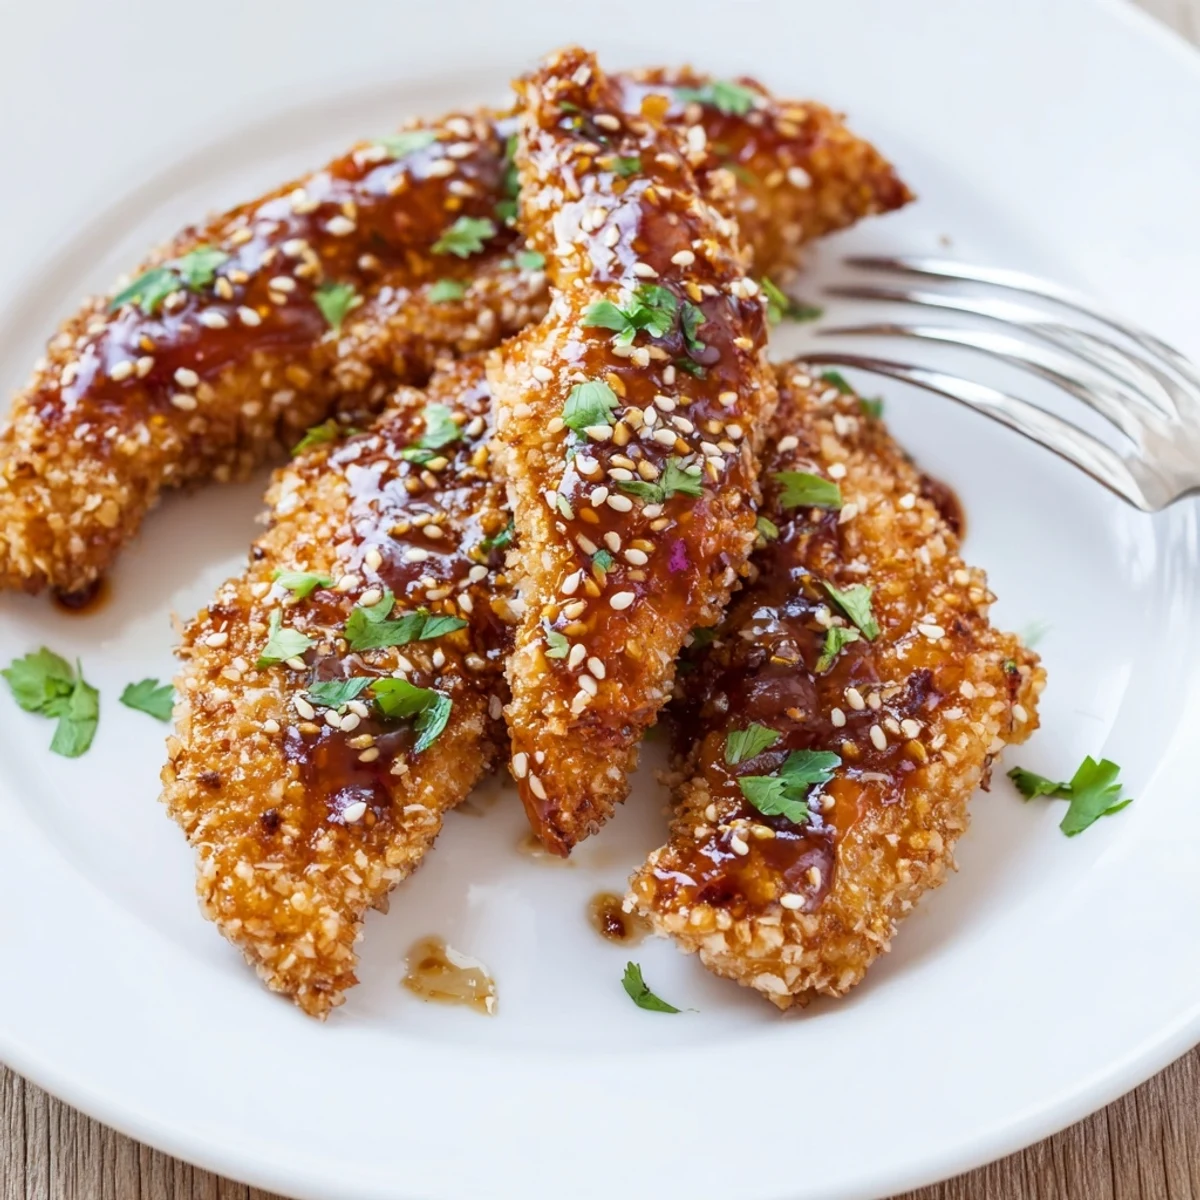
 These Thai-style chicken fingers feature crispy breaded tenders coated in a homemade sticky sauce blending sweet chili, soy sauce, honey, rice vinegar, and sriracha. The chicken is first dredged in flour, egg, and panko coconut crumbs, then baked until golden. Meanwhile, the sauce simmers until thickened and glossy. Fresh ginger, garlic, and lime juice add bright aromatic notes that balance the heat. Finished with cilantro, sesame seeds, and lime wedges, these make excellent appetizers or party food. Prep takes just 20 minutes with a 30-minute bake time, yielding four generous servings. The optional coconut in the breading adds delightful crunch, while air frying offers an alternative cooking method.
The first time I made these chicken fingers, my roommate walked in from work and immediately abandoned her bag in the hallway. That sweet and spicy aroma had filled the entire apartment, and she stood over the baking sheet watching the sauce bubble up like she was witnessing something magical. We ate them standing up right there in the kitchen, burning our fingers slightly and not caring one bit.
Last Super Bowl, I tripled this recipe for a gathering of friends, and honestly, the platter looked like it had been attacked by a small, hungry army. Someone actually licked the serving spoon clean when they thought nobody was watching. Now they text me two weeks before any party asking if Im making those chicken things again.
Ingredients
- 600 g chicken tenders or breast strips: Tenders stay juicier than cutting your own, but either works perfectly here
- 1/2 tsp salt and 1/2 tsp black pepper: Simple seasoning that layers beautifully with all the bold sauce flavors
- 100 g all-purpose flour: Creates that essential first layer of coating for the breading to grab onto
- 2 large eggs: Room temperature eggs work best for even coating
- 100 g panko breadcrumbs: These Japanese breadcrumbs are what give you that restaurant-style extra crunch
- 60 g unsweetened shredded coconut: Totally optional but highly recommended for that subtle sweetness and insane texture
- 100 ml sweet chili sauce: The backbone of our glade and available in most grocery stores now
- 50 ml soy sauce: Adds that deep umami note that balances all the sweetness
- 2 tbsp honey: Pure honey creates a beautiful glossy finish and helps the sauce stick
- 2 tbsp rice vinegar: Cuts through the sugar and adds brightness
- 1 tbsp sriracha: Start here and adjust up or down depending on your spice tolerance
- 2 cloves garlic, minced: Fresh garlic makes such a difference in the sauce complexity
- 1 tsp fresh ginger, grated: Zingy and aromatic, use fresh not powdered
- Juice of 1 lime: Fresh lime juice is non-negotiable for that authentic Thai-inspired brightness
- 2 tbsp chopped fresh cilantro: Adds fresh color and herbaceous contrast to the rich sticky sauce
- 1 tbsp toasted sesame seeds: Toast them in a dry pan for 2 minutes first for maximum flavor
- Lime wedges: Essential for serving and squeezing over right before eating
Instructions
- Get your oven ready:
- Preheat to 220°C (425°F) and line a baking sheet with parchment paper, then give it a light coating of oil so nothing sticks
- Season the chicken:
- Pat those chicken strips completely dry with paper towels, then sprinkle both sides generously with your salt and pepper mixture
- Set up your breading station:
- Grab three shallow bowls and arrange them assembly-line style with flour in the first, beaten eggs in the second, and panko mixed with shredded coconut in the third
- Coat each strip:
- Dredge chicken in flour shaking off excess, dip in egg letting the extra drip off, then press firmly into the panko-coconut mixture until well coated
- Bake until golden:
- Arrange on your prepared sheet, spray or brush lightly with oil, and bake for 20 to 25 minutes, flipping halfway through until deeply golden and cooked through
- Make the sticky sauce:
- While chicken bakes, combine sweet chili sauce, soy sauce, honey, rice vinegar, sriracha, garlic, ginger, and lime juice in a small saucepan over medium heat
- Simmer to perfection:
- Let it bubble for 3 to 4 minutes, stirring constantly until the sauce coats the back of a spoon and looks glossy and slightly thickened
- The grand toss:
- Transfer those hot crispy chicken fingers into a large bowl, pour the sauce over them, and gently toss until every piece is beautifully coated and sticky
- Final touches:
- Arrange on your serving platter and immediately shower with fresh cilantro and toasted sesame seeds, with lime wedges scattered around the edges
 Pin This
 My teenage nephew who survives on a strict diet of chicken nuggets and skepticism actually asked for the recipe after trying these. That is how I know they are genuinely special. His mother still has not forgiven me for ruining regular frozen nuggets forever.
Making It Your Own
Once you have the basic technique down, these chicken fingers become a perfect canvas for experimentation. I have swapped the sriracha for gochujang when I wanted a Korean-inspired twist, and the result was incredible. The breading method stays exactly the same, so you can play with flavors without learning new techniques.
Serving Ideas That Work
While these are fantastic on their own, I love serving them alongside steamed jasmine rice to soak up any extra sauce that escapes the platter. A crisp cucumber salad with rice vinegar dressing cuts through the richness beautifully. For parties, toothpicks and small napkins are essential because fingers will get messy in the best way possible.
Storage and Reheating
The sad truth is these are best enjoyed immediately, right when that coating is at its crispiest and the sauce is at its stickiest. However, if you somehow have leftovers, store them without sauce in the fridge and reheat in a 200°C oven for about 8 minutes to restore crunch. Toss with reheated sauce just before serving.
- Never refrigerate sauced chicken overnight or it will lose all its crispy magic
- The sauce can be made up to 5 days ahead and stored in an airtight container
- Extra cooked plain chicken freezes beautifully for up to 2 months
 Pin This
 Every time I serve these now, I think about that first evening in my tiny kitchen, burning my fingers on a piping hot piece and not caring at all. Some recipes are just worth it.
Recipe FAQs
- → What makes the sauce sticky?
-
The combination of sweet chili sauce, honey, and rice vinegar creates a thick, glossy coating that clings perfectly to the crispy chicken fingers. Simmering the sauce for 3-4 minutes helps it reduce slightly for better adherence.
- → Can I make these ahead of time?
-
Yes, bread and bake the chicken fingers up to a day in advance. Store them in the refrigerator, then reheat in a 200°C oven for 5-7 minutes before tossing with the warm sauce just before serving.
- → How can I adjust the spice level?
-
Reduce or omit the sriracha for a milder version. For more heat, add extra sriracha or a pinch of cayenne pepper to the sauce mixture. The sweet chili sauce also adds mild warmth.
- → What sides pair well with these chicken fingers?
-
Jasmine rice, Asian slaw, steamed bok choy, or fresh spring rolls complement the flavors beautifully. They also work great as party appetizers on their own with extra lime wedges.
- → Is the coconut necessary?
-
Shredded coconut is optional but adds lovely texture and subtle sweetness. If you prefer, simply use all panko breadcrumbs or substitute with crushed cornflakes for extra crunch.
- → Can I fry these instead of baking?
-
Absolutely. Fry the breaded chicken strips in 375°F oil for 3-4 minutes until golden brown and cooked through. Drain on paper towels before tossing with the sticky sauce.