 Pin This
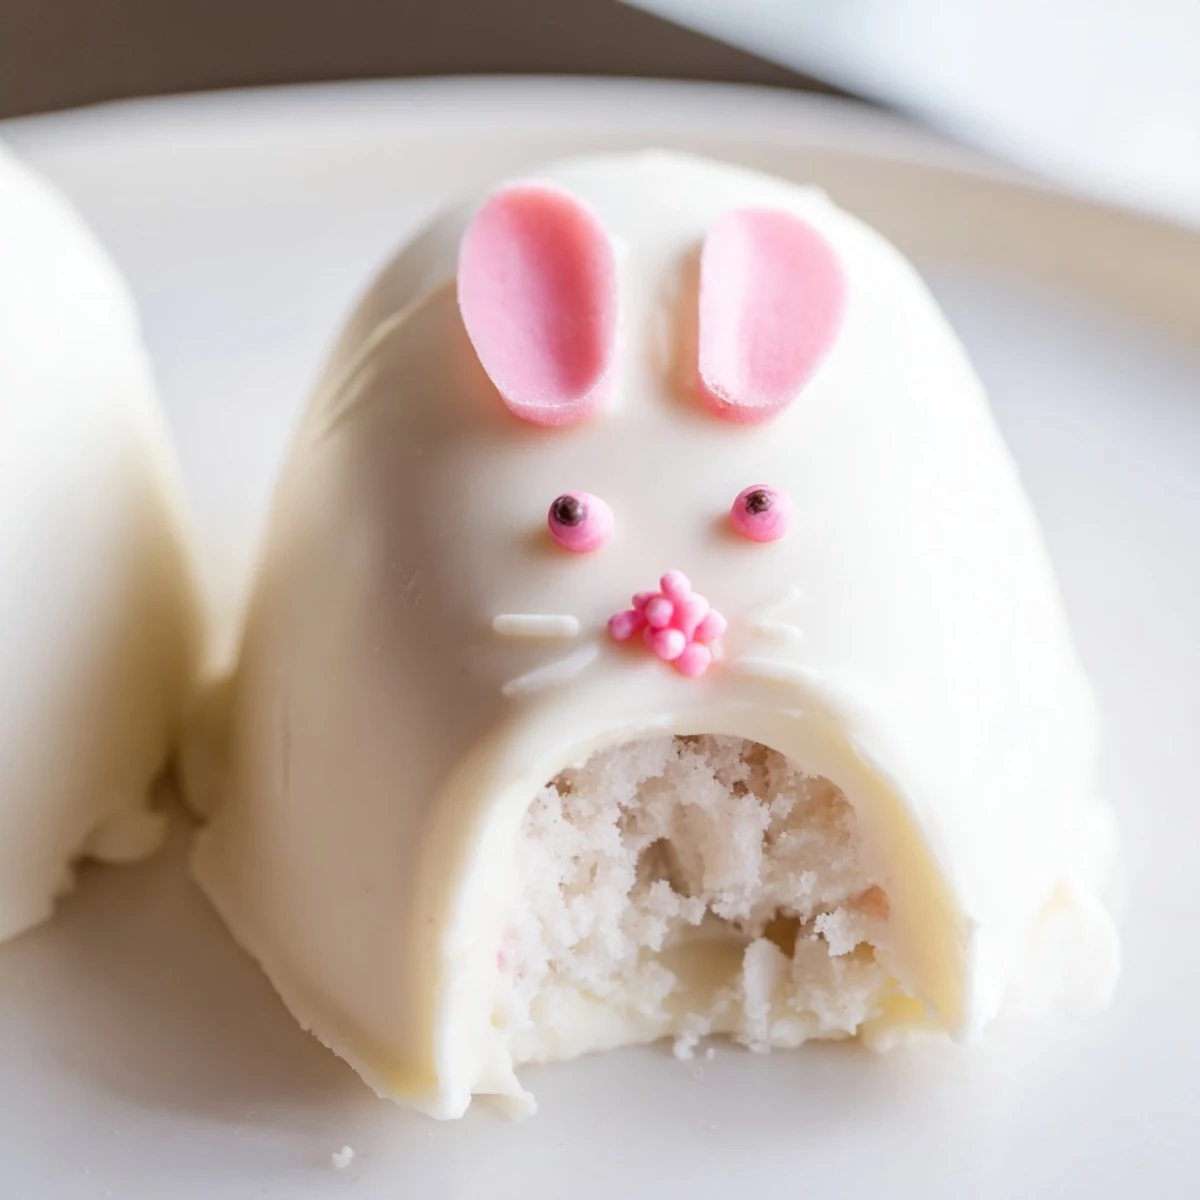
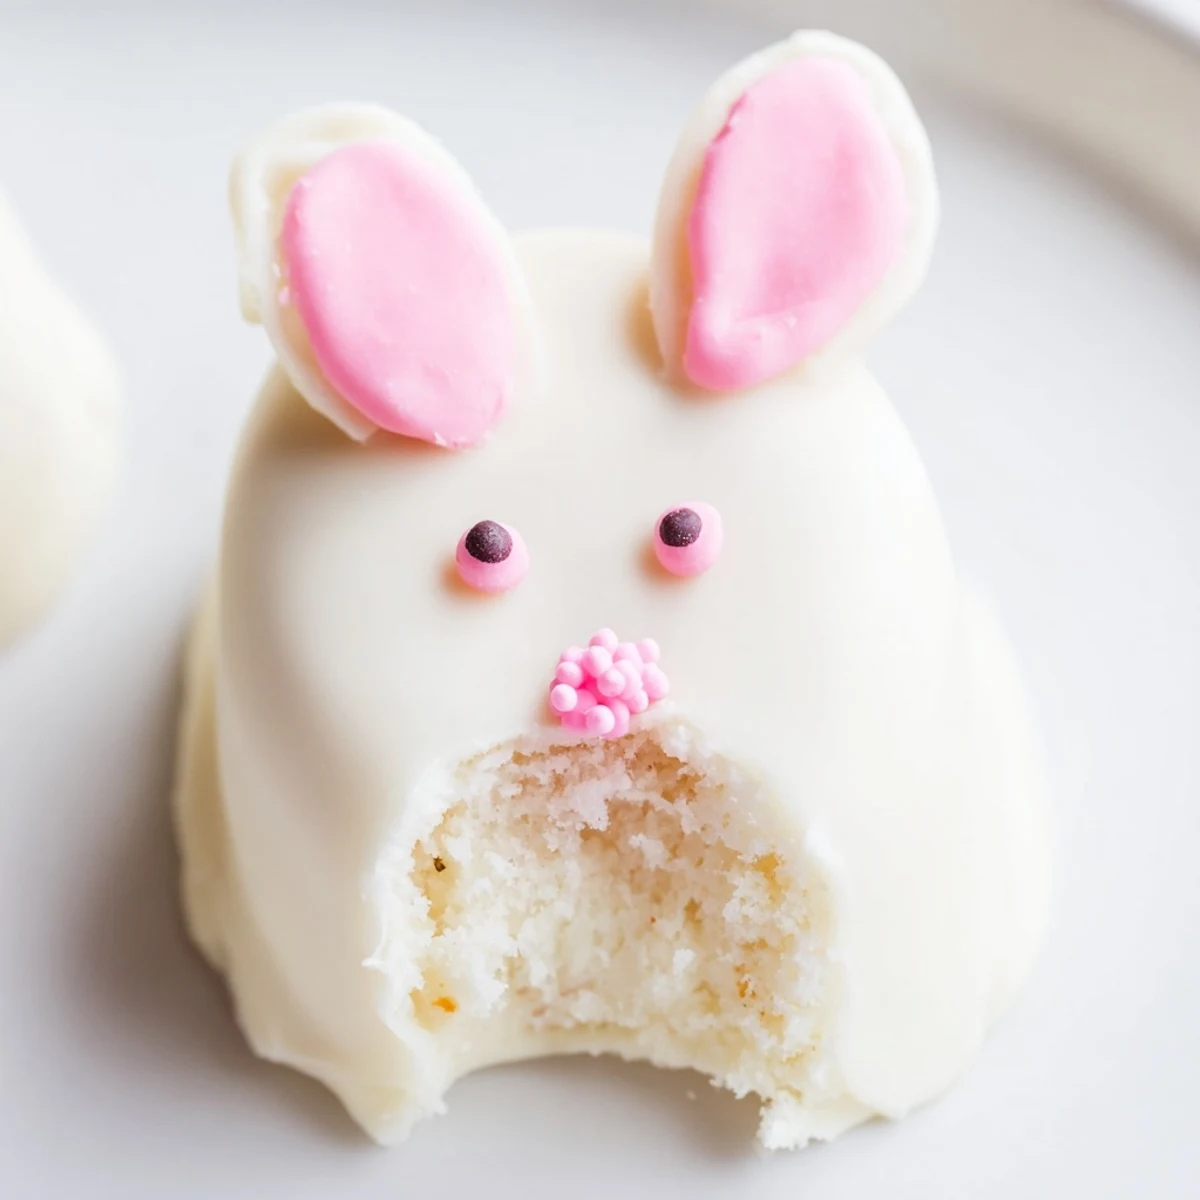
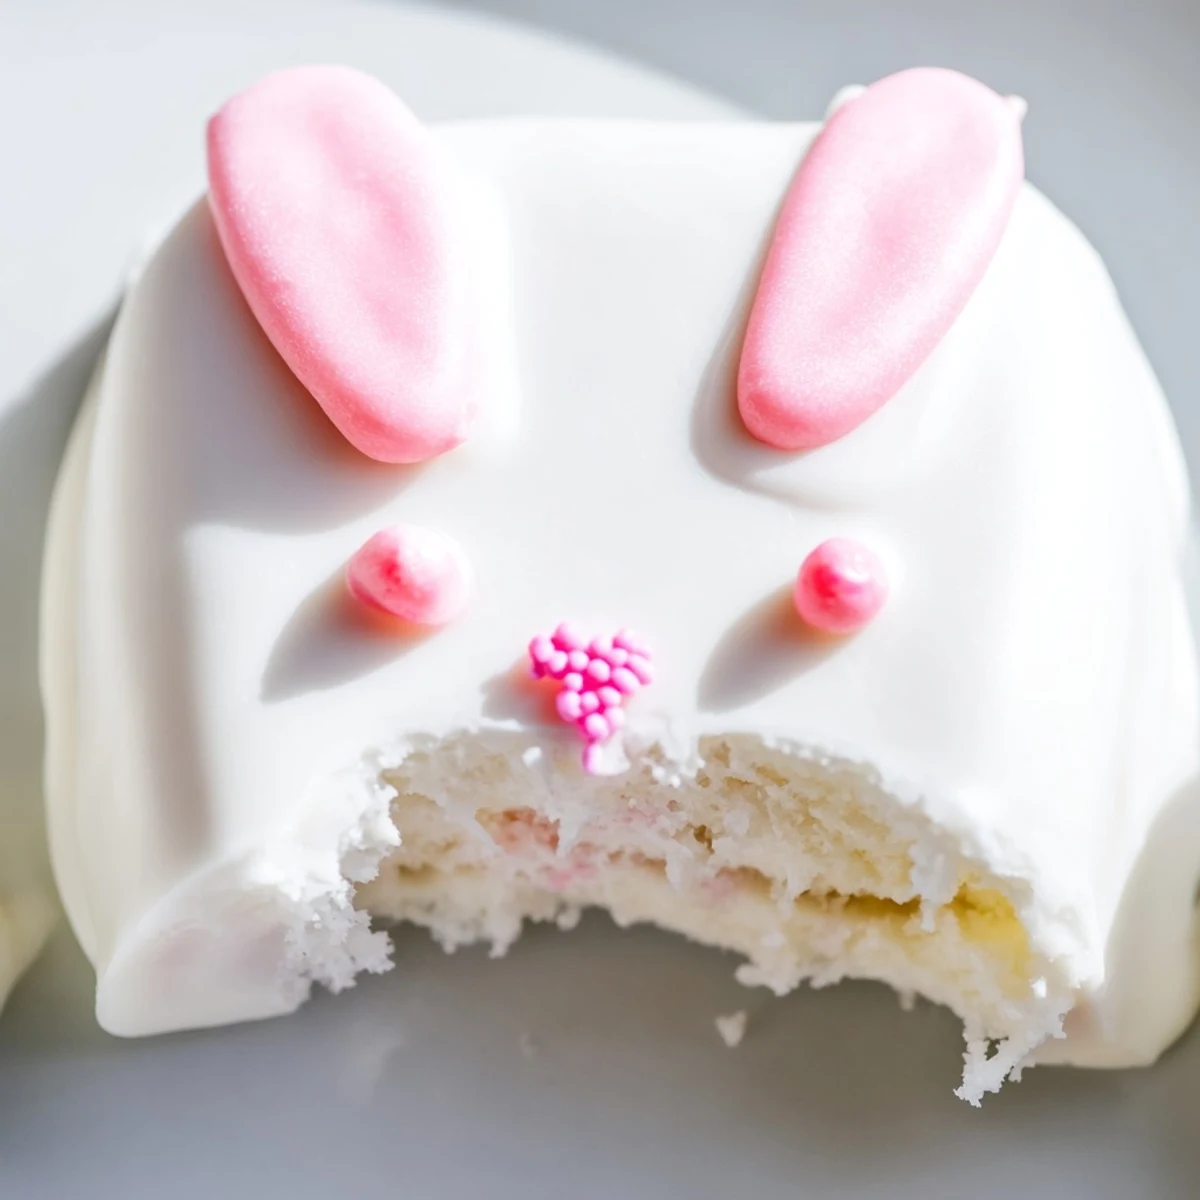
 These whimsical bunny-shaped treats combine crumbled vanilla cake with cream cheese frosting, formed into adorable faces and coated in smooth white chocolate. The perfect addition to any Easter basket or spring dessert table, these handheld delights offer festive fun with every bite.
Customize your bunnies with colorful ears using gel food coloring, candy eyes, and sprinkle decorations. The moist cake interior paired with the crisp chocolate shell creates irresistible texture contrast. Kids and adults alike will love helping decorate these charming spring treats!
Last Easter my niece grabbed a still-warm bunny cakesicle and declared it the best thing that ever happened to dessert. The white chocolate was still soft from dipping, creating this incredible creamy contrast with the dense vanilla cake inside. Watching her face light up reminded me why I started making these adorable treats in the first place. Something about food on a stick makes everything taste better.
I accidentally discovered that refrigerating the cake mixture before dipping makes all the difference between smooth coating and tragic chocolate slides. The first year I made these, I tried to skip the chilling step and ended up with more chocolate on my fingers than on the bunnies. Now I know patience pays off when the coating sets perfectly smooth every time.
Ingredients
- Vanilla cake crumbs: Homemade or store-bought works perfectly, just ensure they are fine and evenly textured for the smoothest filling
- Cream cheese and butter: Room temperature is essential here, creating the perfect binder that holds everything together without being too soft
- Powdered sugar: Just enough sweetness to balance the tangy cream cheese while helping the mixture hold its bunny shape
- White chocolate: High-quality melts or chopped bars give the smoothest coating and best flavor for these adorable treats
- Cakesicle sticks: Insert these before the mixture firms up completely to ensure they stay securely in place during dipping
Instructions
- Mix the cake mixture:
- Combine cake crumbs, cream cheese, butter, powdered sugar, and vanilla until you have a smooth dough that holds together when squeezed
- Shape your bunnies:
- Divide into eight portions and form flattened oval shapes with slightly pointed tops for bunny faces, inserting sticks about halfway through
- Chill until firm:
- Refrigerate for at least 20 minutes until completely firm to the touch, which prevents them from falling apart during dipping
- Melt the white chocolate:
- Heat in 30-second intervals, stirring thoroughly between each, until completely smooth and fluid
- Dip and coat:
- Submerge each bunny in chocolate, tap off excess, and let any drips fall off before placing on parchment paper
- Add faces quickly:
- While coating is still soft, press candy eyes and attach fondant ears or noses before the chocolate sets
- Set completely:
- Let them firm up at room temperature or refrigerate for 10 minutes until the coating is hard and shiny
 Pin This
 My daughter started making these for her preschool class and now receives requests every spring. The kids get so excited about the bunny faces that they do not even notice they are eating much smaller portions than regular cupcakes. Something about treats on a stick just makes them more magical.
Choosing The Right Coating
White chocolate melts are specifically designed for dipping and create that flawless candy-shop finish. Regular white chocolate bars work beautifully too, just add a teaspoon of coconut oil to help it flow smoothly. The key is heating slowly and stirring constantly to prevent seizing.
Making The Faces
Candy eyes and sprinkles need to be attached while the coating is still slightly tacky. I keep a small bowl of warm chocolate nearby to use as edible glue if any decorations fall off during setting. Fondant ears should be cut thin so they do not become too heavy for the delicate coating.
Storage And Serving
These cakesicles actually taste better after sitting overnight in the refrigerator. The flavors meld together and the coating becomes perfectly firm while the inside stays moist. Serve them standing upright in a jar filled with Easter grass or arranged on a platter lined with coconut.
- Stand them upright in a mason jar filled with jelly beans for an adorable display
- Wrap individually in clear treat bags tied with pastel ribbon for party favors
- Keep them refrigerated until serving time to prevent the white chocolate from softening
 Pin This
 These little bunnies have become such a beloved tradition that my family starts asking about them weeks before Easter. Hope they bring as much joy to your holiday table as they have to ours!
Recipe FAQs
- → How far in advance can I make these cakesicles?
-
Prepare these treats up to 3 days ahead and store in an airtight container in the refrigerator. The chocolate coating helps keep the cake interior fresh and moist.
- → Can I use different cake flavors?
-
Absolutely! Chocolate cake crumbs, lemon, red velvet, or even funfetti work wonderfully. The white chocolate coating complements various cake flavors beautifully.
- → What if my chocolate coating is too thick?
-
Add 1 teaspoon of coconut oil or vegetable shortening to the melted chocolate to thin it out for easier dipping. This helps achieve smooth, even coverage.
- → Do I need a special mold to make bunny shapes?
-
While molds create uniform shapes, you can hand-form the cake mixture into flattened ovals and use fondant or candy for bunny features. The rustic, handmade look adds charm!
- → How do I prevent the sticks from falling out?
-
Insert sticks about halfway into each cake shape, then refrigerate for 20-30 minutes before dipping. The chilling time helps the cake mixture firm around the stick for secure holding.
- → Can these be frozen for later?
-
Yes! Freeze undecorated cakesicles for up to 1 month. Thaw in the refrigerator overnight, then add fresh decorations before serving.