 Pin This
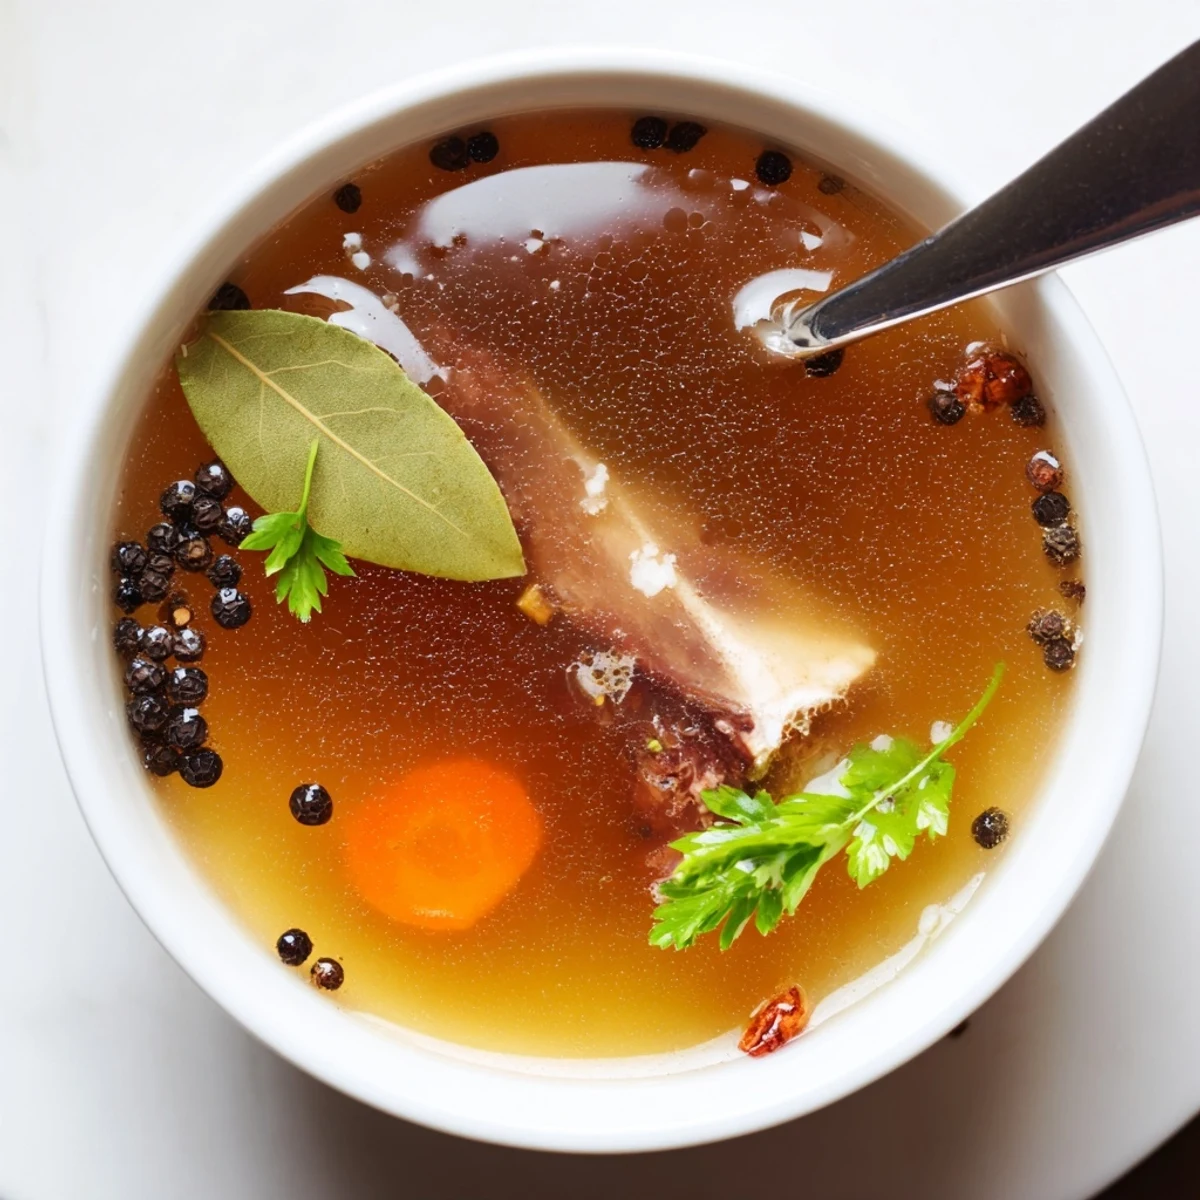
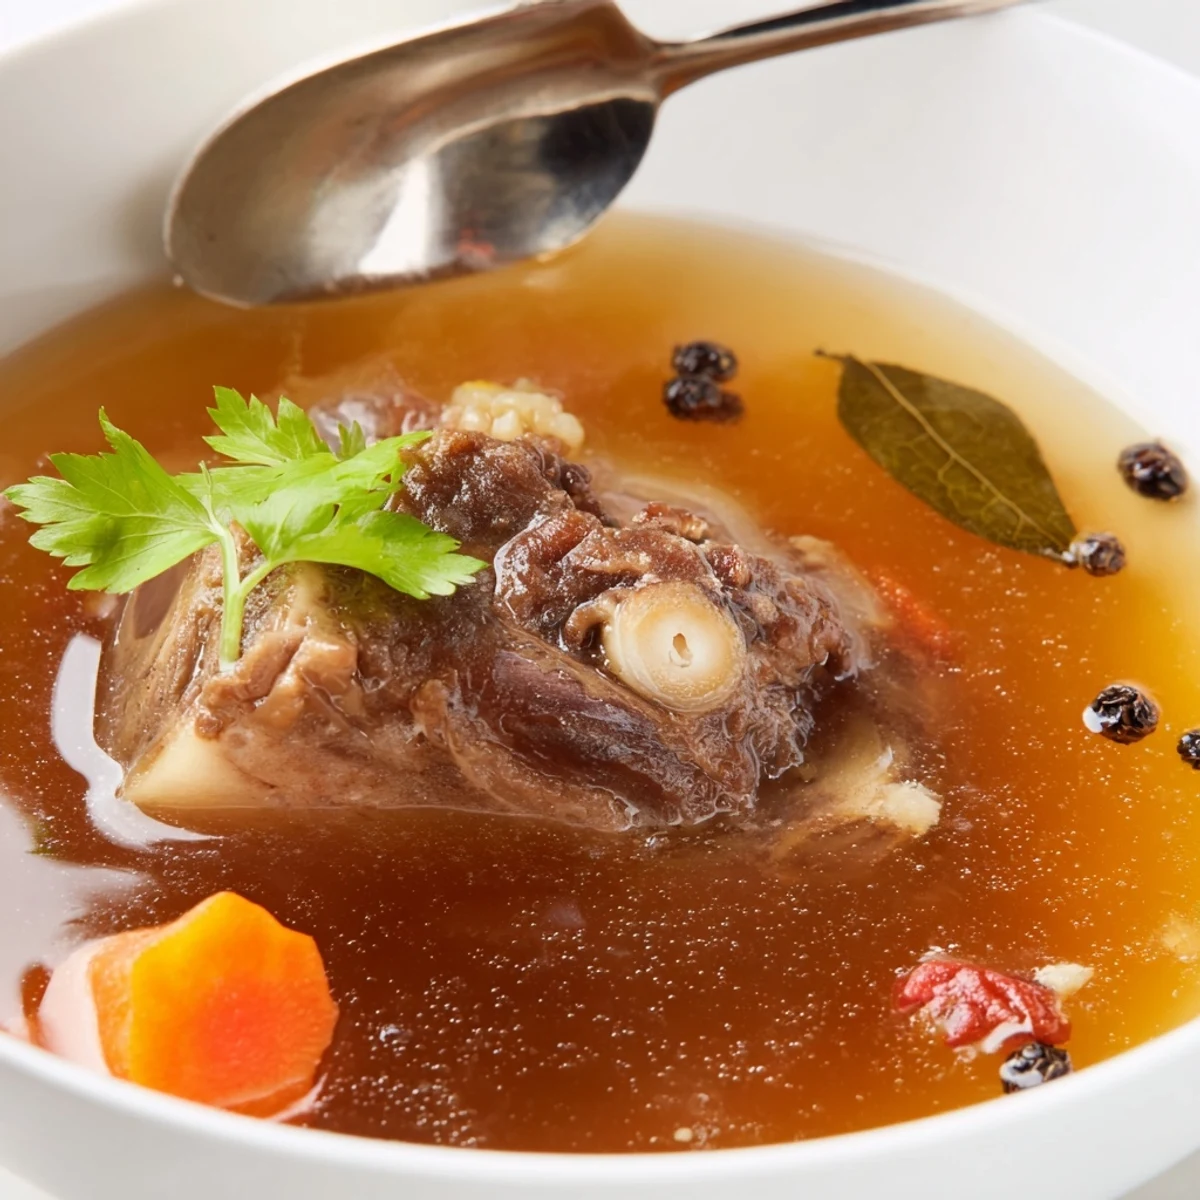
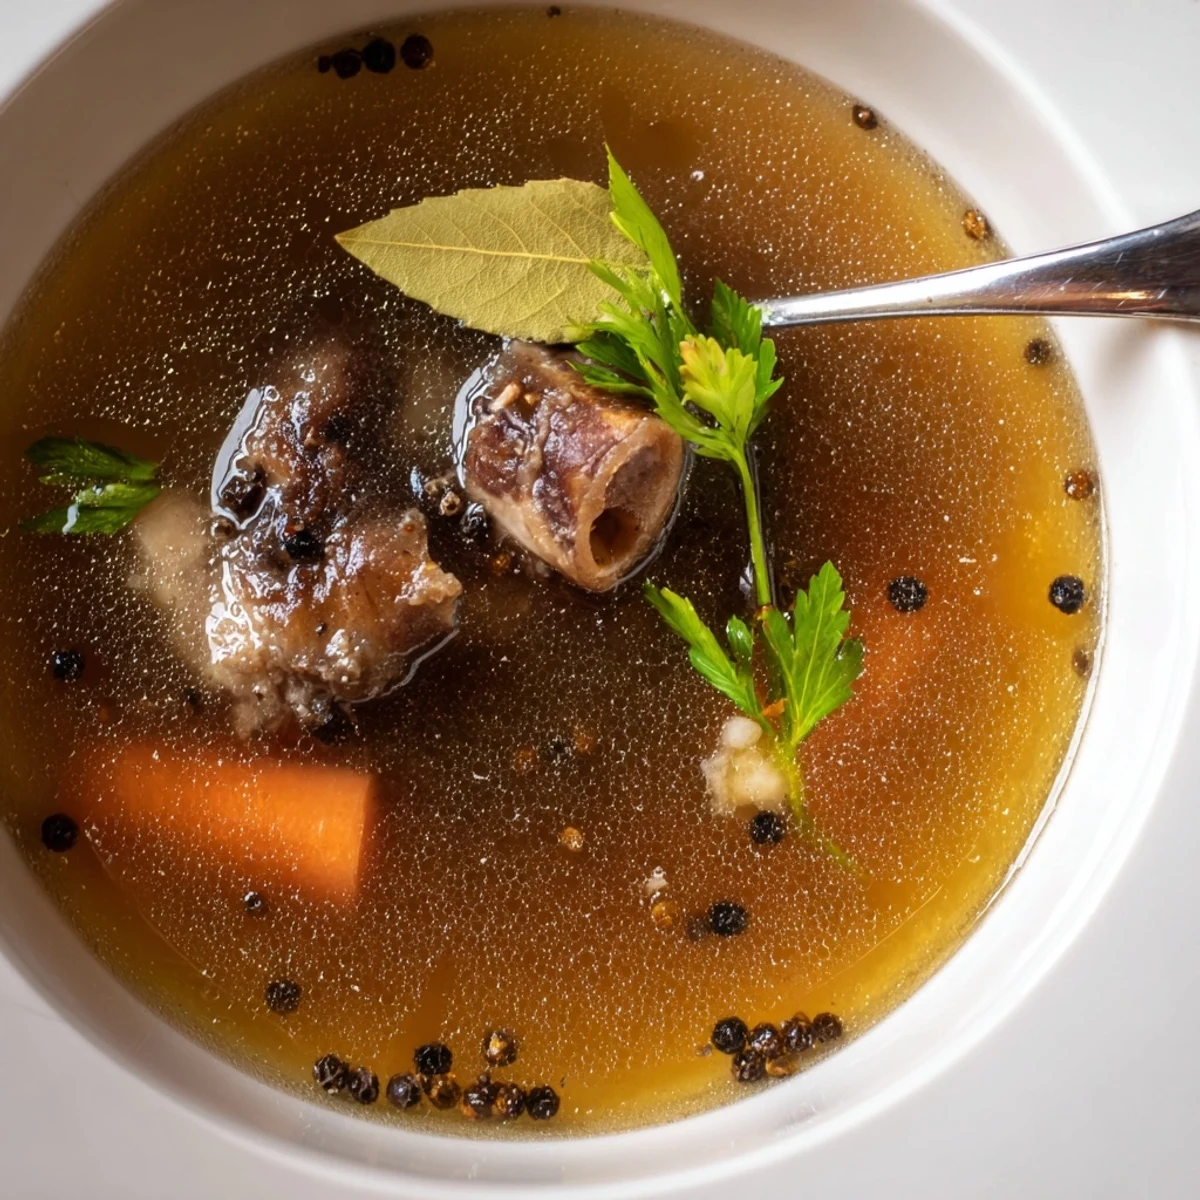
 Simmer beef marrow, knuckle or oxtail bones with carrots, celery, onion, garlic, bay and parsley for a minimum of 12 hours, adding apple cider vinegar to help pull minerals and collagen. Roast bones first for deeper color and flavor if desired. Skim foam in the first hour, strain through a fine mesh, chill to solidify and remove fat, then store in the fridge or freezer. Yields about 8 cups.
The kitchen smelled like something ancient and elemental, the kind of scent that makes you close your eyes and breathe deeper without thinking. I started making bone broth on a gray Sunday when the radiator was clanking and I had nowhere to be, and twelve hours later I understood why people get obsessed with it. A mug of this golden liquid, seasoned with just salt, is more comforting than any tea I have ever made.
My neighbor walked in while I was straining a batch last winter and stood over the pot with both hands wrapped around a steaming cup for twenty minutes straight, not saying a word, just drinking.
Ingredients
- Beef bones (2.5 lbs, marrow, knuckle, and oxtail work beautifully): The mix of bones matters more than you think, because marrow gives richness and knuckle gives that gelatinous body.
- Carrots (2, roughly chopped): No need to peel them, just scrub clean and toss them in for natural sweetness.
- Celery stalks (2, roughly chopped): These add a savory backbone that you will miss if you skip them.
- Large onion (1, quartered): Leave the skin on for a deeper golden color in the finished broth.
- Garlic cloves (4, smashed): Smashing rather than mincing lets the garlic infuse gently without turning bitter over the long cook.
- Bay leaves (2): A quiet but essential layer of earthy aroma.
- Fresh parsley (1 small bunch): Toss it in whole, stems and all, for a fresh green note at the finish.
- Whole black peppercorns (1 tsp): Whole peppercorns give gentle warmth without clouding the broth the way cracked pepper would.
- Apple cider vinegar (2 tbsp): This is the secret, because the acidity helps draw minerals out of the bones during the long simmer.
- Cold water (12 cups): Always start with cold water, as it extracts more flavor and nutrients from the bones.
- Salt (to taste, added after cooking): Salting at the end gives you full control over the final seasoning.
Instructions
- Roast the bones (optional but worth it):
- Spread the bones on a tray and roast at 400°F for about 30 minutes until they are deeply browned and fragrant. This one extra step transforms the broth from good to unforgettable.
- Build the pot:
- Pile the bones into your largest stockpot or slow cooker, then scatter the carrots, celery, onion, and garlic around them. Tuck in the bay leaves, parsley, and peppercorns wherever they fit.
- Add liquid and vinegar:
- Pour the apple cider vinegar over the bones first, then add the cold water until everything is submerged by about an inch. Give it a gentle stir and wait a few minutes before turning on the heat.
- Bring to a simmer and skim:
- Over medium heat, bring the pot to a gentle simmer without letting it boil hard, and use a ladle or skimmer to remove the grey foam that rises in the first hour. Your patience here rewards you with a crystal clear broth.
- The long simmer:
- Lower the heat to the barest simmer, leave the pot uncovered or loosely covered, and let it go for at least 12 hours, checking occasionally to make sure the bones stay under water. Top up with hot water as needed.
- Strain and season:
- Ladle the broth through a fine mesh sieve or cheesecloth into a large bowl or jars, pressing gently on the solids to extract every last drop. Discard the solids, then season with salt to taste while the broth is still warm.
- Cool and store:
- Let the broth cool completely at room temperature, then refrigerate overnight so the fat solidifies into a solid cap on top that you can easily lift off. Keep in the fridge for up to 5 days or freeze for up to 3 months.
 Pin This
 There is something meditative about tending a pot for half a day, checking on it like a sleeping child, knowing that something nourishing is slowly taking shape.
How to Store It Properly
Glass jars work best for the fridge, but leave an inch of headspace because the broth expands slightly when cold. For freezing, I use quart sized freezer bags laid flat on a sheet tray so they freeze into stackable bricks that save space.
Ways to Use Every Drop
Beyond sipping it from a mug on cold mornings, this broth becomes the foundation for French onion soup, risotto, pan sauces, and braised greens. I even cook rice in it sometimes, which turns a simple side dish into something people ask about.
Troubleshooting Common Issues
If your broth does not gel when chilled, it likely needed more time simmering or a different mix of bones with more joint and knuckle pieces. The flavor is still wonderful even without the gel, but next time try adding a few extra oxtail pieces and extending the cook by a couple of hours.
- A layer of fat on top after chilling is completely normal and actually protects the broth beneath it.
- If the flavor tastes flat, try adding a pinch more salt and a squeeze of lemon juice before serving.
- Trust the process, because the best broths come from patience, not perfection.
 Pin This
 A pot of bone broth simmering on the stove is one of the most grounding things you can do in a kitchen. Share it generously, because warmth this honest was meant to be passed around.
Recipe FAQs
- → Should I roast the bones first?
-
Roasting at 400°F for 20–30 minutes caramelizes marrow and bone surfaces, adding deeper color and a richer, more savory flavor to the final liquid. It's optional but recommended for depth.
- → How long should the bones simmer?
-
Simmer uncovered or partially covered for at least 12 hours; up to 24 hours extracts more collagen and minerals. Top up with hot water as needed to keep bones submerged.
- → Why add apple cider vinegar?
-
A small amount of acid helps draw minerals and gelatin from the bones and connective tissue, improving body and mouthfeel without affecting flavor once strained and seasoned.
- → How do I remove fat and clarify the liquid?
-
After cooling, refrigerate until fat solidifies on the surface and skim it off. For clearer liquid, strain through a fine-mesh sieve or cheesecloth and gently skim any remaining impurities during the initial simmer.
- → How should I store the broth?
-
Keep refrigerated up to 5 days in a sealed container, or freeze for up to 3 months. Reheat gently; if using for sauces, reduce on the stove to concentrate flavor.
- → What indicates a good gelatinous finish?
-
When chilled, a properly extracted stock will set into a soft gel due to collagen turned gelatin. That texture signals a rich mouthfeel and strong body for soups and sauces.